Voucher Boy's 1965 Daimler V8 250 Restoration
 1965 Daimler V8 250 Restoration (Jaguar Forums)
Read the full write-up at 1965 Daimler V8 250 Restoration (Jaguar Forums) ↗
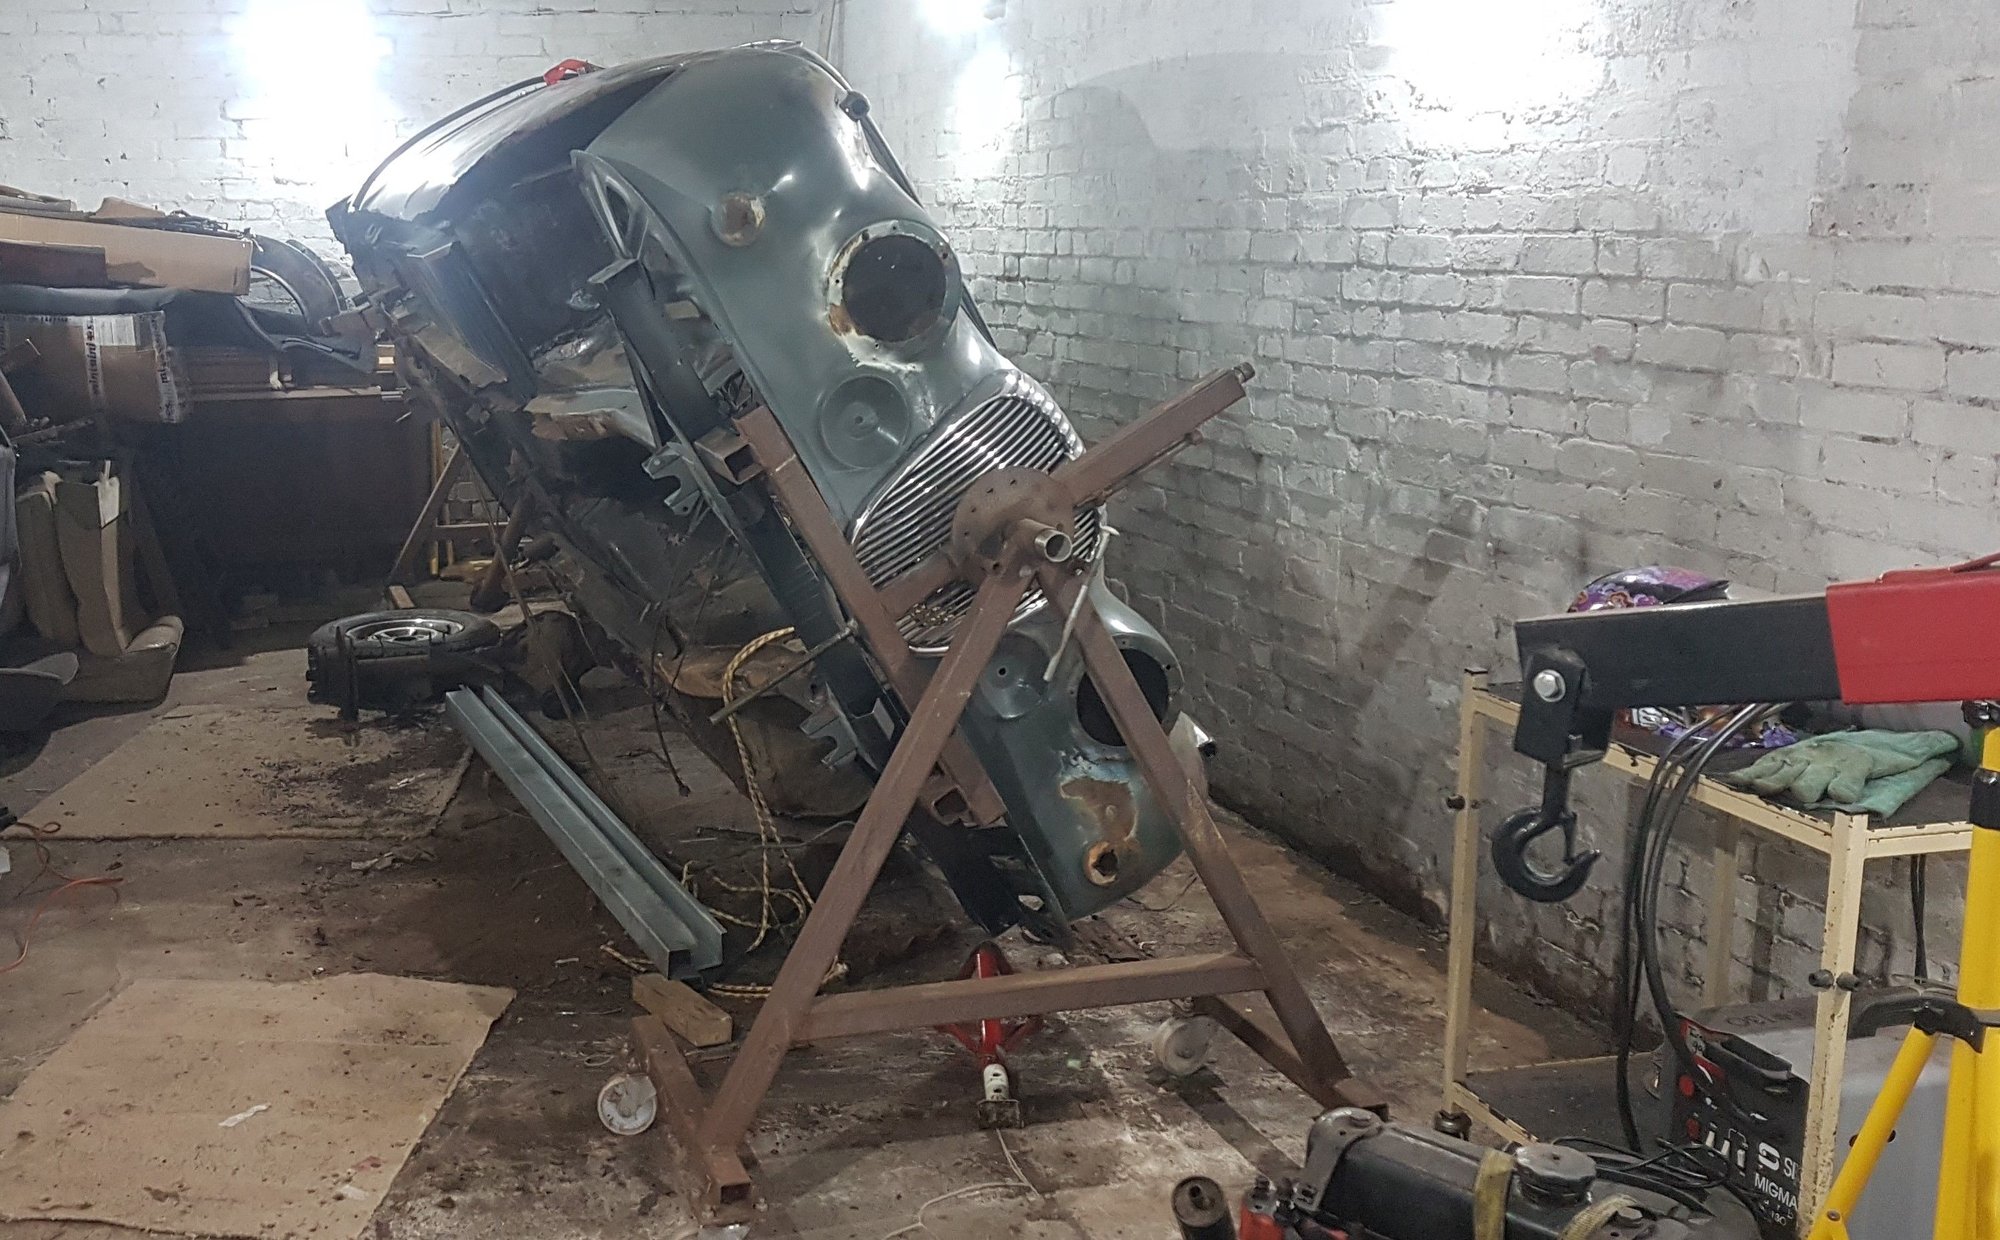 Photo: 1965 Daimler V8 250 Restoration (Jaguar Forums)
A 1965 Daimler V8 250 rebuilt from a rotten shell by its owner
Voucher Boy, a Cardiff-based first-time project builder, documents a bare-metal restoration of his 1965 Daimler V8 250 on Jaguar Forums. The thread covers extensive chassis, sill, floor and rear valance fabrication, use of a rotisserie, and suspension rebuild work, shared with fellow forum members who offer tips along the way.
Parts used
Parts named as used in the original write-up, grouped the way the Parts page groups them. Where one of the shops we index lists the same thing for this car, it is shown underneath with a link to the shop.
Suspension & Steering 1
- Polyurethane thrust arm bushes
Fitted to the thrust arms in place of original bushes, noted as a loose fit without pressing required
In the shopsRear Radius Arm (with fitted bushes) ↗ANG Classic Car Parts· £104.63 GBP
 Rear Radius Arm With Metalastik Bushes ↗
 British Auto USA· $248.46 USD
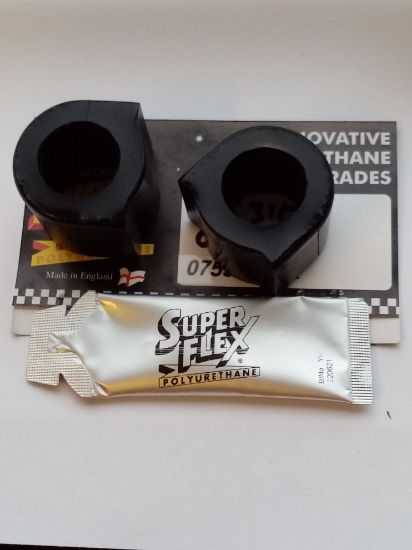 Anti-Roll Bar Bushes (Polyurethane Pair) ↗
James Paddock Ltd· £13.95 GBP
Photos
122 pictures collected from the write-up, in the order they were posted, shown from 1965 Daimler V8 250 Restoration (Jaguar Forums). A picture opens larger here, with the way through to the page it is on.
1965 Daimler V8 250 Restoration - Jaguar Forums - Jaguar Enthusiasts Forum 33this post at 1965 Daimler V8 250 Restoration (Jaguar Forums) ↗
1965 Daimler V8 250 Restoration - Jaguar Forums - Jaguar Enthusiasts Forum 30this post at 1965 Daimler V8 250 Restoration (Jaguar Forums) ↗
1965 Daimler V8 250 Restoration - Jaguar Forums - Jaguar Enthusiasts Forum 34this post at 1965 Daimler V8 250 Restoration (Jaguar Forums) ↗
1965 Daimler V8 250 Restoration - Jaguar Forums - Jaguar Enthusiasts Forum 25this post at 1965 Daimler V8 250 Restoration (Jaguar Forums) ↗
How it was done
Starting condition
The car needed substantial rust repair, including rotten chassis rails, spring hanger boxes, sills, floors and rear valance/tonneau areas, much of it only discovered once the body was mounted on a rotisserie borrowed from a friend.
Chassis and sill repairs
With the shell on a rotisserie, the owner removed and replaced sections of chassis rail and spring hanger boxes, fabricated new lower inner sills, a replacement lower grille section, and welded in a rear jacking point, working around the difficulty of accessing a full inner sill replacement without removing door posts.
Rear bodywork fabrication
The owner fabricated replacement wing/arch and lower tonneau panel sections where metal was missing, buying some panels to copy and ultimately fitting a purchased repair panel for the prominent arch/spat area rather than risk a visible fabrication mistake.
Suspension work
Later work included compressing and refitting rear springs and plates onto the lower A-arms, with the owner receiving advice from other members on using all-thread rod as a guide and on fitting poly bushes to the thrust arms.
Progress so far
By the latest posts shown, the owner had completed one side's inner sill and jacking point, made progress on the rear valance and suspension, and continued working steadily, describing it as his first project car and sharing his learning process with the forum.
A summary in our own words. The full account, with all its detail, is in the original write-up: read it at 1965 Daimler V8 250 Restoration (Jaguar Forums) ↗
Worth knowing
- Replacing a full inner sill requires cutting out the door posts, so a lower-half repair was chosen instead
- Buying a pre-made repair panel was safer than trying to copy it for visible areas like the rear arch/spat
- Welding lead is difficult and reacts poorly to heat
- The footwell holes once assumed to be factory speaker holes were actually inspection hatches
- A rotisserie with a missing chassis section risks the shell bending or twisting out of shape