thehotardvark's Jaguar 420G Restoration
 The 420G | Restoration Project
 Photo: The 420G | Restoration Project
Small fixes on a 1967 Jaguar 420G: battery mount, horns, indicators
A blog following minor but fiddly repairs on a 1967 Jaguar 420G by owner thehotardvark, including securing the battery to meet modern MOT rules, fixing a dual-horn wiring fault, and tracking down an earthing problem in the front indicator repeaters. The appeal is the detailed troubleshooting of old electrics rather than a full restoration narrative.
Parts used
Parts named as used in the original write-up, grouped the way the Parts page groups them. Where one of the shops we index lists the same thing for this car, it is shown underneath with a link to the shop.
Electrical 3
- Generic battery clamp kit
J-bolts cut down and re-threaded to secure the battery per new MOT rules, replacing the missing original clamp parts
In the shops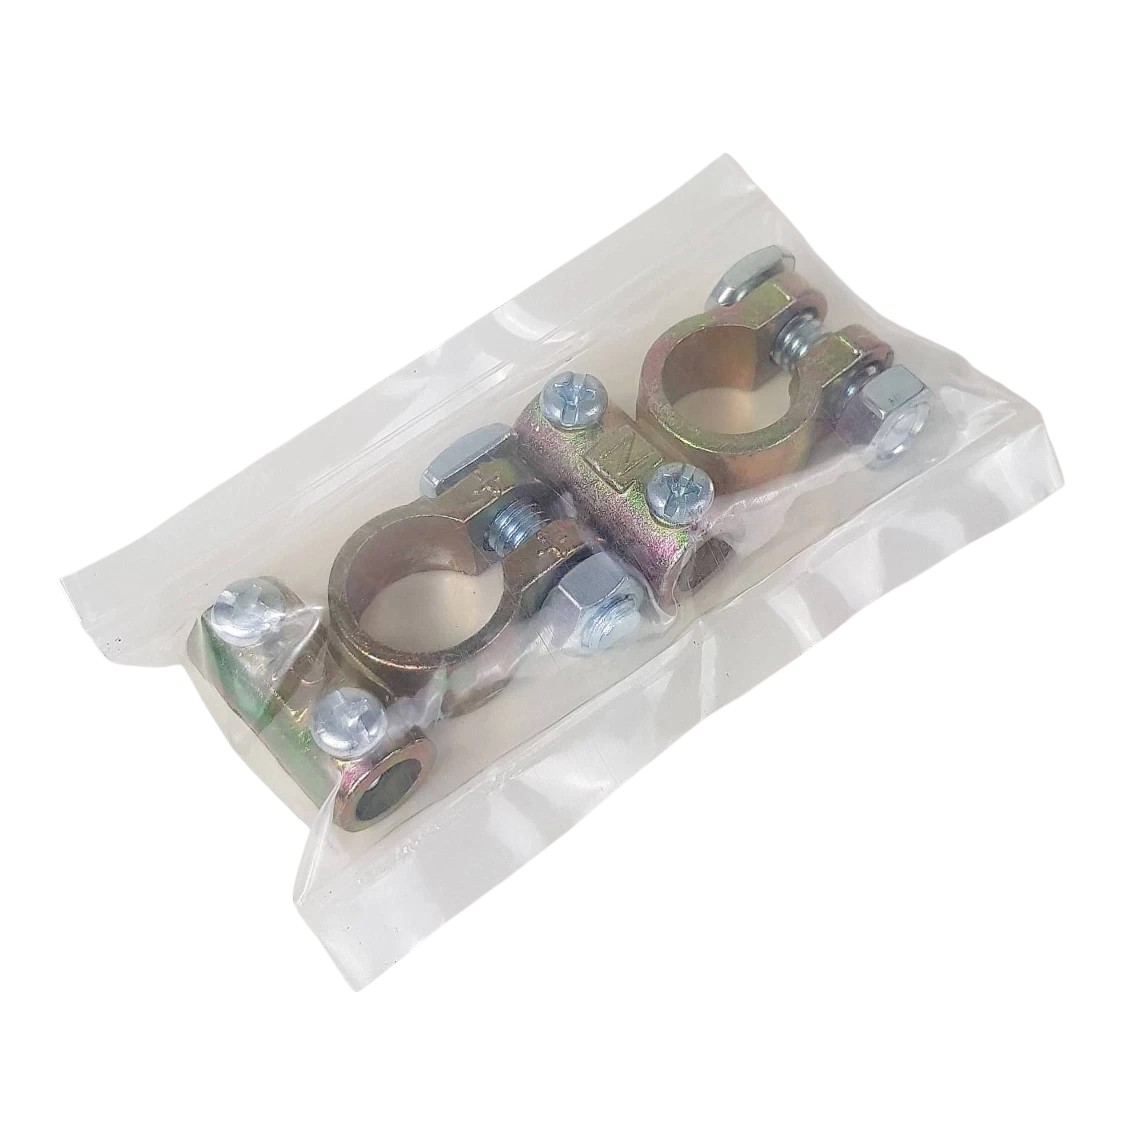 Battery Terminal Clamps ↗
 MX5 City· $7.78 USD
 Battery Clamp Rod 5-3/4 Inch ↗
 TRGB· £2.48 GBP
 Battery Bar Clamp Rod 8-Inch ↗TRGB· £6.00 GBP
- Low and high note horns
Original dual horns; rewired after a miswired terminal was found, cleaned, treated with rust killer, primed and painted
In the shops Lucas Horns Pair - High Note & Low Note ↗
James Paddock Ltd· £20.25 GBP
 1967-1968 Camaro & Firebird High & Low Note Horns (Pair) ↗
Heartbeat City Camaro· 138.42
 Lucas Low Note Horn ↗
- Front indicator repeaters
Removed via the headlight apertures, earths remade to fix an intermittent earthing fault
In the shops Red Side Indicator Repeater Light ↗
 C Bradley Motorsport· £6.90 GBPAmber Side Repeater Indicator Lamp ↗
 MGOC Spares· £10.45
 Direction Indicator Side Repeater Lamp - Left Hand (Amber Lens) ↗
 British Auto USA· $58.28 USD
Photos
15 pictures collected from the write-up, in the order they were posted, shown from The 420G | Restoration Project. A picture opens larger here, with the way through to the page it is on.
How it was done
Securing the battery
UK MOT rules required the battery to be firmly secured, but the original clamp parts could not be sourced. The owner bought a generic battery clamp and modified it by cutting down and re-threading the two J-bolts to fit, then fitted it into the car. It is not original but holds the battery firmly.
Horn troubleshooting
The horn did not sound. Fuses, the horn itself, relay and wiring checked out fine until the owner discovered there were two horns, one hidden behind the other, with its positive and negative wires wrongly connected to the same terminal. After freeing badly rusted mounting bolts with a Dremel, rewiring fixed the fault. The exposed horn was wire-brushed, treated with rust killer, primed and painted before refitting.
Indicator repeater fault
The front indicator repeaters were unreliable. Research suggested a known design issue: paint and underlying tar coating insulate the repeater bolts from bare metal, relying on rust-free contact in the mounting holes for earthing. The owner planned to run a new earth wire from each repeater bolt to a solid earthing point.
Indicator repair carried out
To reach the repeaters, headlights were removed (finding a stray carrier bag behind one sealed beam unit). Remaking the earth connections fixed the passenger side repeater; the driver's side needed a further check for a wiring oddity before both worked correctly. Headlights were refitted afterward.
Horn ring and self-cancel adjustment
After the horn was reinstalled, its switch contacts were degreased and rewired, then the horn ring springs were adjusted to stop it sounding continuously. The indicator self-cancelling mechanism was also adjusted so indicators would cancel properly.
A summary in our own words. The full account, with all its detail, is in the original write-up: read it at The 420G | Restoration Project ↗
Worth knowing
- Repeater earthing fails over time because paint and tar coating insulate the mounting bolt from bare metal
- Check wiring diagrams carefully, as the car has two horns sharing similar wiring that can be easily overlooked