thehotardvark's 1967 Jaguar 420G restoration
 The 420G | Restoration Project
 Photo: The 420G | Restoration Project
A 1967 Jaguar 420G taken through small electrical and trim fixes
This blog follows an owner's slow-paced restoration of a 1967 Jaguar 420G, tackling a sequence of small jobs rather than a full teardown. Posts cover sorting out a non-working horn system, fixing self-cancelling indicators, chasing an earthing fault in the front indicator repeaters, and fabricating a modern-compliant battery clamp. It is a worthwhile read for the detailed fault-finding on old Jaguar electrics.
Parts used
Parts named as used in the original write-up, grouped the way the Parts page groups them. Where one of the shops we index lists the same thing for this car, it is shown underneath with a link to the shop.
Electrical 4
- Replacement horn (refurbished pair)
Rewired after one horn was found with both terminals on the same connection; mounting bolts freed with a Dremel after rust seizure
- Fuses (50 Amp)
Replaced after blowing during horn fault diagnosis
In the shops 5 Amp Fuse ↗
James Paddock Ltd· £0.45 GBP
 35 Amp Fuse ↗
 10 Amp Fuse ↗
- Front indicator side repeaters
Removed, cleaned and re-earthed with new wiring to fix intermittent flashing fault
In the shops Red Side Indicator Repeater Light ↗
 C Bradley Motorsport· £6.90 GBPAmber Side Repeater Indicator Lamp ↗
 MGOC Spares· £10.45
 Direction Indicator Side Repeater Lamp - Left Hand (Amber Lens) ↗
 British Auto USA· $58.28 USD
- Generic battery holder/clamp
Bought as original parts unavailable, modified by cutting and re-threading the J-bolts to fit, then fitted to secure the battery per MOT rules
In the shops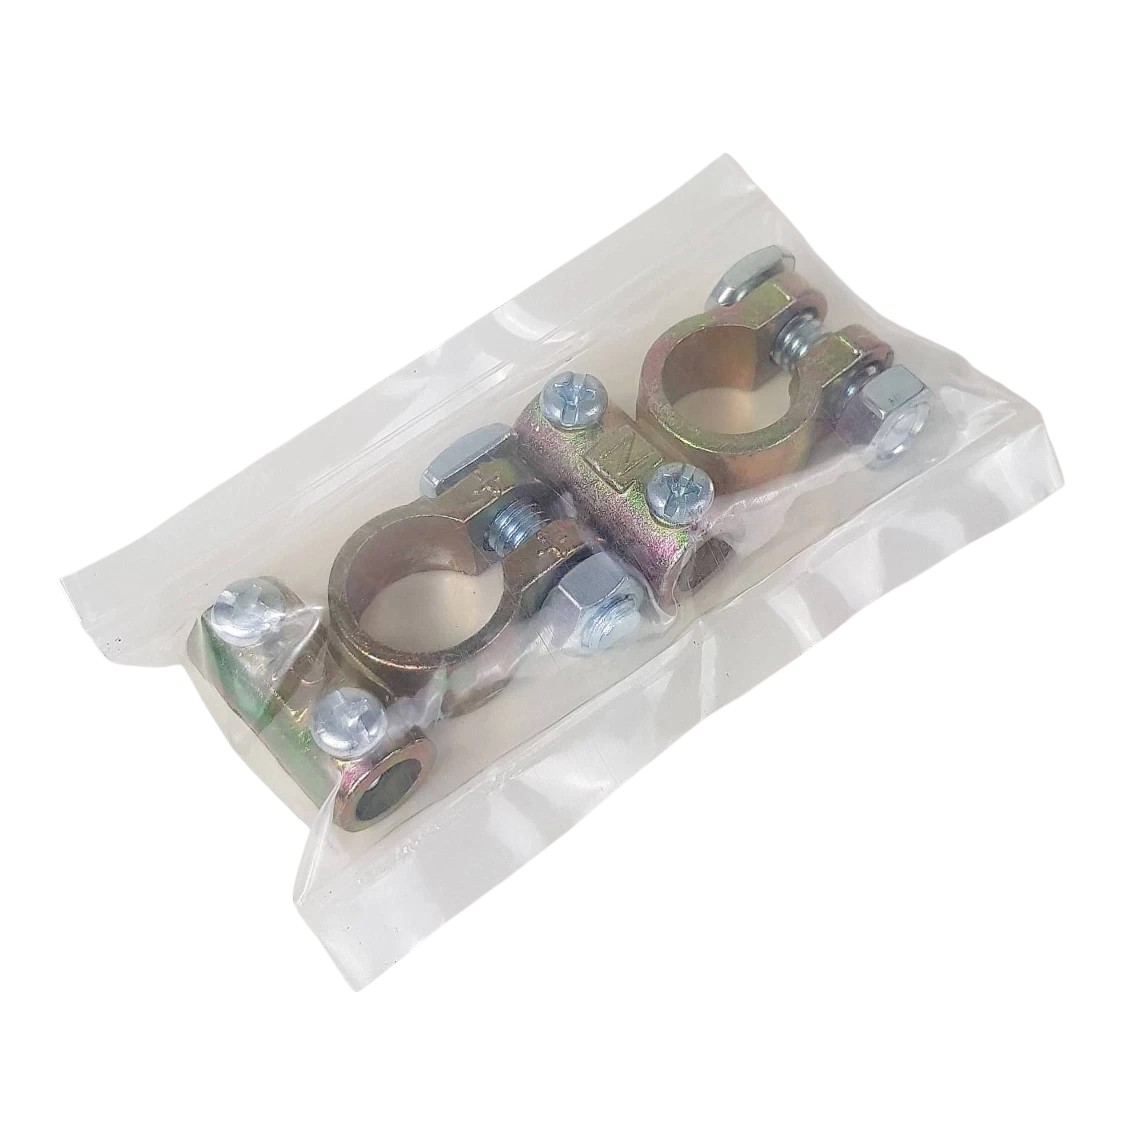 Battery Terminal Clamps ↗
 MX5 City· $7.78 USD
 Battery Clamp Rod 5-3/4 Inch ↗
 TRGB· £2.48 GBP
 Battery Bar Clamp Rod 8-Inch ↗TRGB· £6.00 GBP
Photos
15 pictures collected from the write-up, in the order they were posted, shown from The 420G | Restoration Project. A picture opens larger here, with the way through to the page it is on.
How it was done
Starting the blog
The owner introduces the project as a long-term restoration journey on a Jaguar 420G, promising updates in words, pictures and video as work progresses.
Horn repair
The horn was found not to work due to blown fuses and, after extensive checking of switch, relay and wiring, it turned out there were two horns and the second one had both terminals wired to the same connection. Rusted mounting bolts had to be ground off with a Dremel to access it. Once rewired correctly, both horns worked, and the horn was primed and painted before reinstalling.
Indicator self-cancelling and repeaters
After fitting the refurbished horn, the indicator self-cancelling mechanism was adjusted to work properly. The owner then investigated the side indicator repeaters, which were not working due to earthing problems caused by paint and tar coating blocking the bolt's contact with bare metal. Reaching the repeaters required removing the headlight units, and new earth wires were run to fix both sides, with an odd intermittent fault resolved by reconnecting the passenger side.
Battery mounting fix
To meet updated UK MOT rules requiring a secured battery, the owner could not find original battery clamp parts, so bought a generic battery holder and modified its J-bolts by cutting them to length and re-threading them to fit the car, then installed it.
A summary in our own words. The full account, with all its detail, is in the original write-up: read it at The 420G | Restoration Project ↗
Worth knowing
- Side indicator repeaters commonly fail to earth due to paint and tar coating blocking contact at the mounting bolt
- Always check for a second hidden horn unit before assuming a wiring fault is isolated to one component