Matt's 1972 Datsun 240Z Restoration
 Spannerhead – 240Z Restoration project series
Read the full write-up at Spannerhead – 240Z Restoration project series ↗
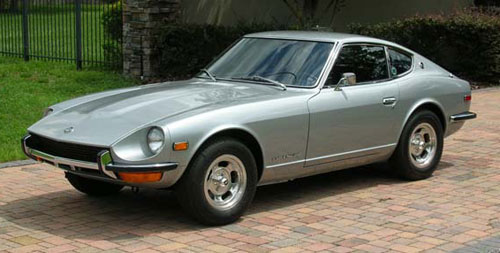 Photo: Spannerhead – 240Z Restoration project series
A father's 1972 Datsun 240Z, being restored by his son over years
Matt inherited his dad's original-owner 1972 240Z and has been documenting a slow, budget-conscious restoration since 2011. The project moved from assessing severe rust and an uncertain engine, through getting the car running and briefly driveable again, to a full teardown now underway with the body stripped to bare mechanicals awaiting paint. By the last post the dash and wiring harness had just been removed and the car was close to being ready for the body shop.
Specs
As stated in the original write-up.
- Engine
- Original L24 2.4L SOHC inline-6, confirmed original to the car via VIN/block research, cleaned and reused rather than rebuilt
- Fuel system
- Twin SU carburetors rebuilt by ZTherapy with ball-bearing throttle shafts and knurled mixture knobs
- Gearbox
- Original manual transmission, rear oil seal replaced, refilled with Red Line MT-90
- Rear axle
- Original differential, cover gasket replaced, refilled with Red Line 75W-90 gear oil
- Brakes
- Original drum brakes all round, rebuilt with new master and wheel cylinders during 2012 recommissioning
- Clutch
- New clutch master cylinder, slave cylinder and rubber line fitted in 2012
- Wheels
- Factory 14x7 slotted mag wheels, cleaned and refitted
- Tyres
- BF Goodrich Radial T/A, 225/60-14
- Colour
- Returning to original 901 Silver after a later repaint in a different colour
- Weight
- Approximately 2350 lbs
Parts used
Parts named as used in the original write-up, grouped the way the Parts page groups them. Where one of the shops we index lists the same thing for this car, it is shown underneath with a link to the shop.
Engine 1
- Rotella T 15W-40 oilShell
Used as fresh engine oil when first starting the L24 again
Fuel & Ignition 1
- SU carburetor rebuild with ball-bearing throttle shaftsZTherapy
Twin SU carbs reconditioned with new cores, bearings and knurled mixture knobs to cure vacuum leaks
In the shops SU Carburetor Rebuild Kit ↗
 Moss Motors – Triumph TR6/TR250· $52.75 USD
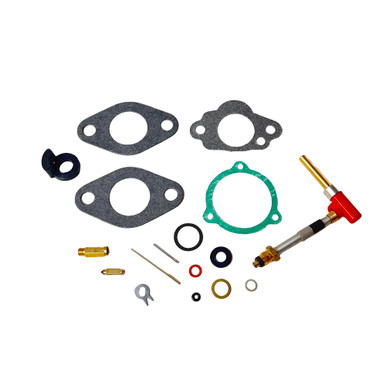 Rear Carburetor Rebuild Kit ↗
 bpnorthwest.com· $71.40 USD
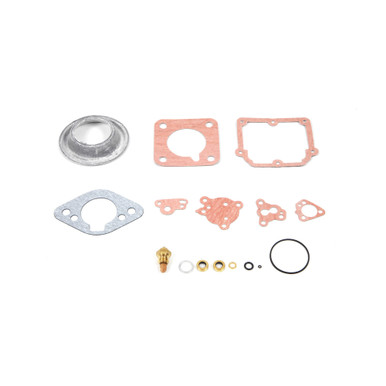 Zenith Carburetor Rebuild Kit ↗bpnorthwest.com· $75.06 USD
Gearbox & Drivetrain 3
- Red Line MT-90 gear oilRed Line
Used to refill the transmission after replacing the rear oil seal
In the shops Red Line MTL 75W80 GL-4 Gear Oil (3.78L) ↗
 MazSpec MX-5 Spares & Accessories· £109.80 GBP
 Red Line MTL 75W80 GL-4 Gear Oil (946ml) ↗MazSpec MX-5 Spares & Accessories· £24.99 GBP
 Red Line 75W90 GL-5 Synthetic Differential Gear Oil 3.78L ↗MazSpec MX-5 Spares & Accessories· £109.80 GBP
- Red Line 75W-90 gear oilRed Line
Used to refill the differential after replacing the cover gasket
In the shops Red Line MT-LV 70W/75W GL-4 Manual Transmission Gear Oil - 3.78L ↗MazSpec MX-5 Spares & Accessories· £94.95 GBP
 Red Line MT-LV 70W/75W GL-4 Manual Transmission Gear Oil - 946ml ↗MazSpec MX-5 Spares & Accessories· £23.95 GBPRed Line MTL 75W80 GL-4 Gear Oil (3.78L) ↗MazSpec MX-5 Spares & Accessories· £109.80 GBP
- Clutch master and slave cylinder
Replaced along with rubber lines to restore clutch function
In the shops Clutch Slave Cylinder ↗Moss Motors – Triumph TR6/TR250· $226.27 USDClutch Master Cylinder Gasket ↗bpnorthwest.com· $2.50 USD
 Clutch Slave Cylinder Pushrod ↗
James Paddock Ltd· £5.00 GBP
Brakes 1
- Brake master cylinder and wheel/slave cylinders
Replaced throughout the braking system during the 2012 recommissioning to get the car roadworthy
In the shops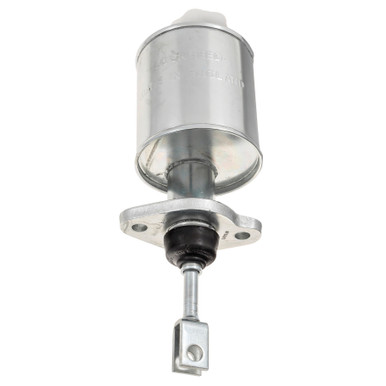 Brake Master Cylinder (Metal) ↗bpnorthwest.com· $308.76 USD
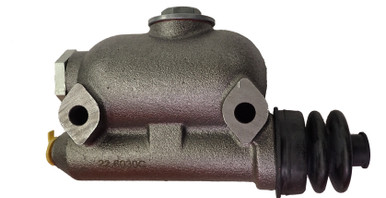 Brake Master Cylinder, TRW (TD/TF) ↗bpnorthwest.com· $159.89 USD
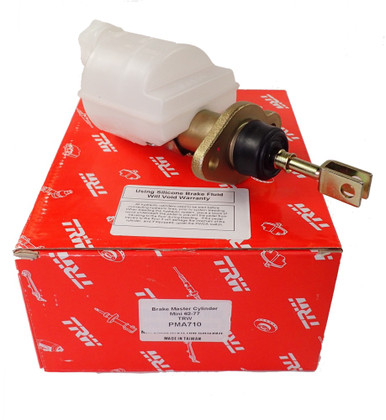 Brake Master Cylinder (Mini 62-77) ↗bpnorthwest.com· $124.87 USD
Wheels & Tyres 1
- BF Goodrich Radial T/A tyres, 225/60-14BF Goodrich
Fitted to the car's original 14x7 slotted mag wheels for a vintage muscle-car look
In the shops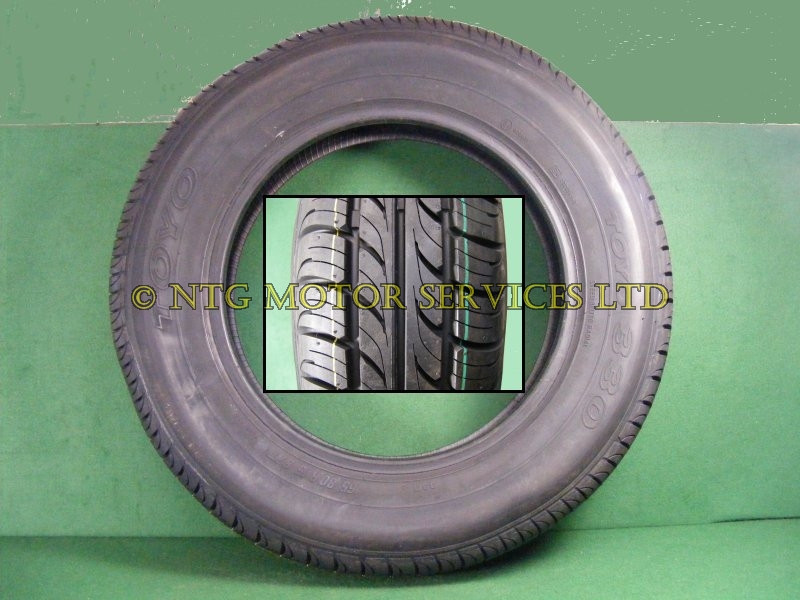 Tyre 165 x 15" Radial ↗
MGbits4U· £140.76 GBP
 225/50R15 91V Toyo Proxes TR1 Tyre ↗
 C Bradley Motorsport· £129.00 GBP
 225/45R13 84V Toyo Proxes R888R Tyre ↗C Bradley Motorsport· £142.80 GBP
Body & Trim 1
- 6-2-1 exhaust headerPull-A-Part junkyard
Sourced from a junkyard donor 240Z, intended for cleanup and use on the project
In the shops Hood Header Location Pin ↗
 TRGB· £16.45 GBP
Electrical 1
- Under-hood service lightPull-A-Part junkyard
Salvaged from a junkyard 240Z for reuse
In the shops Hood Side Seal ↗TRGB· £8.58 GBP
 Hood Popper Tool ↗TRGB· £7.15 GBP
 Hood Handle Screw ↗TRGB· £0.88 GBP
Other 1
- POR-15 Fuel Tank Repair Kit
Considered and previously used successfully on another car for sealing the fuel tank interior
In the shops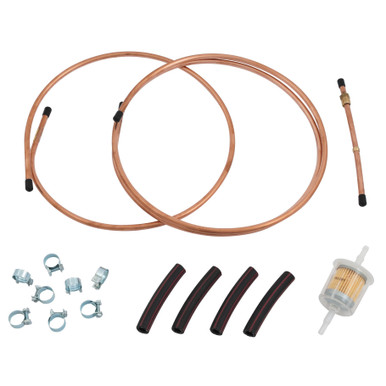 Fuel Tank Fuel Line Kit ↗bpnorthwest.com· $257.82 USD
 Fuel Tank Installation Kit ↗Moss Motors – Triumph TR6/TR250· $148.75 USD
 Fuel Pump Repair Kit (AC Type) ↗
Photos
58 pictures collected from the write-up, in the order they were posted, shown from Spannerhead – 240Z Restoration project series. A picture opens larger here, with the way through to the page it is on.
2011-08-07 · Datsun 240Z Restoration: Projecting Forward 1this post at Spannerhead – 240Z Restoration project series ↗
2011-08-27 · Datsun 240Z Restoration: Opening the Tomb 4this post at Spannerhead – 240Z Restoration project series ↗
2011-11-23 · Datsun 240Z Restoration: Confessions of a Poor Car Enthusiast 1this post at Spannerhead – 240Z Restoration project series ↗
2011-11-26 · Datsun 240Z Restoration: The Rollout 2this post at Spannerhead – 240Z Restoration project series ↗
2011-12-17 · Datsun 240Z Restoration: Coming Home 6this post at Spannerhead – 240Z Restoration project series ↗
2012-01-16 · Datsun 240Z Restoration: Little Things 2this post at Spannerhead – 240Z Restoration project series ↗
2012-01-22 · Datsun 240Z Restoration: Tactical Changes 1this post at Spannerhead – 240Z Restoration project series ↗
2012-02-02 · Datsun 240Z Restoration: Wheel Work 2this post at Spannerhead – 240Z Restoration project series ↗
2012-03-12 · Datsun 240Z Restoration: Carbs’ Return 3this post at Spannerhead – 240Z Restoration project series ↗
2012-03-21 · Datsun 240Z Restoration: Inspiration (Sort Of) 3this post at Spannerhead – 240Z Restoration project series ↗
2012-04-01 · Datsun 240Z Restoration: Meat on the Wheels 4this post at Spannerhead – 240Z Restoration project series ↗
2012-04-12 · Datsun 240Z Restoration: Fuel System, Part I 3this post at Spannerhead – 240Z Restoration project series ↗
2012-05-18 · Datsun 240Z Restoration: It Lives! 2this post at Spannerhead – 240Z Restoration project series ↗
2012-06-05 · Datsun 240Z Restoration: Getting It Back On The Road 5this post at Spannerhead – 240Z Restoration project series ↗
2012-07-02 · Datsun 240Z Restoration: VIN Discoveries 1this post at Spannerhead – 240Z Restoration project series ↗
2013-01-03 · Datsun 240Z Restoration: Beginnings 2this post at Spannerhead – 240Z Restoration project series ↗
2013-04-22 · Datsun 240Z Restoration: Treasure Hunting 5this post at Spannerhead – 240Z Restoration project series ↗
2014-08-20 · Datsun 240Z Restoration: …And the Engine Comes Out 2this post at Spannerhead – 240Z Restoration project series ↗
2016-04-18 · Datsun 240Z Restoration: The Teardown Begins 3this post at Spannerhead – 240Z Restoration project series ↗
2016-08-24 · Datsun 240Z Restoration: Gutting the Interior 4this post at Spannerhead – 240Z Restoration project series ↗
2016-09-08 · Datsun 240Z Restoration: Dashless 2this post at Spannerhead – 240Z Restoration project series ↗
How it was done
Starting condition
Matt's father bought the 240Z new in 1972 and gave it to him in 2001. By 2011 it had not run since 2004, after being driven briefly with no oil pressure. The passenger floor pan, battery tray and firewall had rusted through from a leaking battery tray, and rockers and other panels were badly deteriorated.
Deciding a direction
Matt considered keeping the car stock, fitting an L28 or turbo L28ET, or swapping in a different engine entirely. Budget realities led him and his father to a more modest plan: his father would help fund the work while Matt did the labour, keeping the engine and focusing on body, interior and running gear rather than exotic swaps.
Getting it running again
After moving the car to his own garage, Matt decided to try starting the original engine rather than assume it needed a rebuild, since no metal was found in the oil. He replaced hoses, fuel lines, the fuel tank seal, battery, thermostat, oil pressure sensor, fuel pump and filter, had the SU carbs rebuilt, and fixed a vacuum leak at the air pump balance tube outlet, after which the engine ran smoothly.
Back on the road briefly
Matt rebuilt the clutch and brake hydraulics, replaced the transmission rear seal and differential gasket, and fitted new BF Goodrich Radial T/A tyres on the original mag wheels. The car became driveable again in June 2012, used for a short drive to his son's school, before being parked for the full restoration.
Assessing the scope
A walkaround video posted to a Z-car forum drew estimates from an expert of around 650 hours and $30,000 for a concours restoration, though Matt wanted only a clean, rust-free driver rather than a show car. Family photos from 1972 confirmed the original silver colour and trim he intended to restore to.
Teardown underway
After relocating to a new house and garage, Matt pulled the engine and transmission in 2014, then built proper parts storage before beginning a fuller strip-down in 2016: removing fuel tank, trim, lights, bumper, upholstery, door panels, steering column, dash and heater box, and wiring harness. By the last post the car was close to being ready to go to the body shop.
A summary in our own words. The full account, with all its detail, is in the original write-up: read it at Spannerhead – 240Z Restoration project series ↗
Worth knowing
- Let the engine's actual symptoms guide diagnosis rather than assuming the worst after a mechanical scare
- A simple unplugged vacuum line can mimic much more serious internal engine problems
- Keep a written log of disassembly order and labeled fasteners, since memory alone is unreliable years later
- Adequate parts storage space needs to be organized before a full teardown can proceed efficiently