brucejon2's Triumph TR3A restoration
 TR3 Restoration Lessons Learned (TR3B project blog)
Read the full write-up at TR3 Restoration Lessons Learned (TR3B project blog) ↗
 Photo: TR3 Restoration Lessons Learned (TR3B project blog)
Timing chain, front seal, motor mounts and fan balancing on a TR3A
Owner brucejon2 documents detailed engine-front work on a Triumph TR3A during a frame-up restoration: replacing a worn timing chain and tensioner, fitting a new front oil seal with a Speedi-Sleeve, installing uprated motor mounts, and hand-building a jig to statically balance the cooling fan assembly. The posts are written as practical lessons-learned notes with part numbers and sourcing tips for other TR3 owners.
Specs
As stated in the original write-up.
- Timing chain
- IWIS chain from Moss (Germany made)
- Timing chain tensioner
- Moss-sourced replacement, flat black finish, made in India
- Front crank oil seal
- Moss Part #520-000, made in Taiwan (CHO part 15639), fitted with a National Speedi-Sleeve #99174 over a worn hub groove
- Motor mounts
- Uprated mounts from The Roadster Factory
- Timing chain cover
- Repainted in black VHT engine paint, resurfaced for flatness, bondo used to replace sound deadening material
Parts used
Parts named as used in the original write-up, grouped the way the Parts page groups them. Where one of the shops we index lists the same thing for this car, it is shown underneath with a link to the shop.
Engine 5
- IWIS timing chainMoss Motors
Replaced a stretched original chain (measured near 10mm slack)
In the shops Iwis Timing chain ↗
 limora.com· €86.03 EUR
 Iwis Timing chain ↗
SC Parts Group· £72.29 GBP
 Timing Chain Cover ↗
 Moss Motors – Triumph TR6/TR250· $0.00 USD
- Timing chain tensionerMoss Motors
Replaced a worn, grooved original tensioner
In the shops Timing Chain Tensioner ↗Moss Motors – Triumph TR6/TR250· $9.50 USD
 TR2-4A Timing Chain Tensioner ↗
 TRGB· £4.13 GBP
 Timing Chain Tensioner TR2-4A ↗TRGB· £4.13 GBP
- National Speedi-Sleeve #99174National (bought via O'Reilly's)
Installed over a worn hub groove to restore a good sealing surface for the front oil seal
In the shops Speedi Sleeve, timing cover ↗Moss Europe (UK)· £67.50 GBP
 Speedi Sleeve, differential pinion ↗Moss Europe (UK)· £66.00 GBP
 Differential Pinion Seal Speedi-Sleeve ↗Moss Motors – Triumph TR6/TR250· $68.50 USD
- Front crankshaft oil seal, Moss Part #520-000Moss Motors / CHO
Fitted with non-hardening gasket dressing to stop leaks
In the shops Timing Chain Cover Oil Seal ↗Moss Motors – Triumph TR6/TR250· $5.80 USD
 Crankshaft Rear Oil Seal Assembly (O.E. Type) ↗Moss Motors – Triumph TR6/TR250· $105.25 USD
 Vinyl Rear Seat Kit, Tan w/ Tan Piping, Early TR3A ↗Moss Motors – Triumph TR6/TR250· $452.50 USD
- Timing chain cover gasket
New gasket and fibre/other washers installed when refitting timing cover
In the shops Timing Chain Cover Gasket ↗Moss Motors – Triumph TR6/TR250· $3.55 USDTiming Chain Cover ↗Moss Motors – Triumph TR6/TR250· $0.00 USDTiming Chain Cover Oil Seal ↗Moss Motors – Triumph TR6/TR250· $5.80 USD
Suspension & Steering 1
- Uprated motor mountsThe Roadster Factory
Replaced soft, worn original mounts; bolts shortened for easier fitting
Body & Trim 1
- VHT black engine paintVHT
Used to repaint the cleaned timing chain cover, baked on
In the shops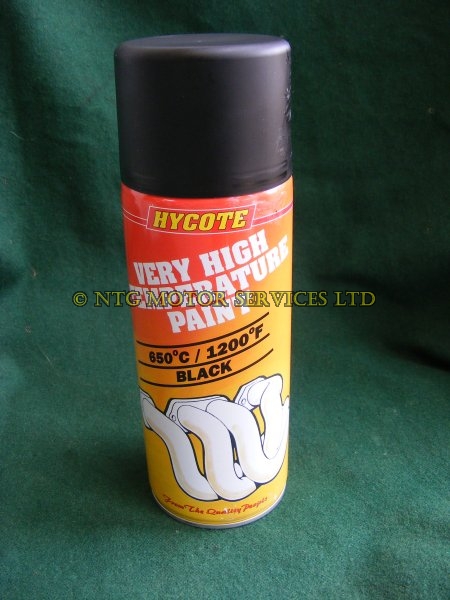 Black Exhaust Paint Aerosol ↗
MGbits4U· £21.03 GBP
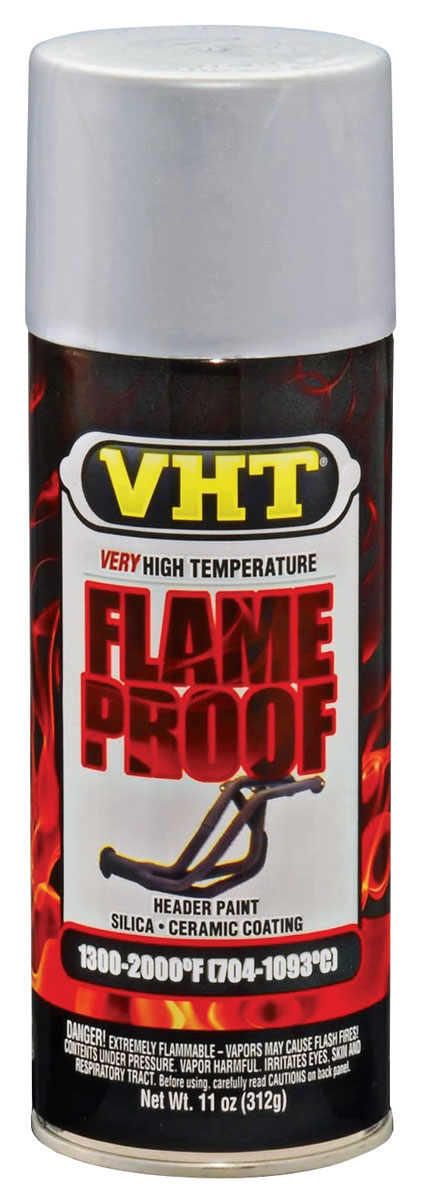 VHT FlameProof Paint, 11-oz ↗
Original Parts Group (OPGI)· $23.99 USD
VHT Wrinkle Plus Paint 310ml ↗ MGOC Spares· £15.70
Tools & Workshop 1
- Permatex non-hardening fuel resistant gasket dressing and sealerPermatex
Used on the Speedi-Sleeve, seal, and timing cover gasket
In the shops Form-A-Gasket No. 2 Non-Hardening Sealant ↗
 Belcher's American Auto Parts (UK)· $16.00 USD
 Permatex Ultra Rubber Gasket Sealant & Dressing ↗Belcher's American Auto Parts (UK)· $16.00 USD
 Permatex Ultra Blue Gasket Maker ↗Belcher's American Auto Parts (UK)· $13.00 USD
Other 1
- Wiring clip sleevesThe Roadster Factory
Used for securing wiring clips; each sleeve cut into three clip lengths
Photos
15 pictures collected from the write-up, in the order they were posted, shown from TR3 Restoration Lessons Learned (TR3B project blog). A picture opens larger here, with the way through to the page it is on.
Replacing Front Oil Seal/Installing Speedi-Sleeve/Timing Chain/Motor Mounts on a Triumph TR3A 11this post at TR3 Restoration Lessons Learned (TR3B project blog) ↗
Balancing, installing the Cooling Fan Assembly on a Triumph TR3A 3this post at TR3 Restoration Lessons Learned (TR3B project blog) ↗
Don’t overorder Roadster Factory Wiring Clip Sleeves for a Triumph TR3A 1this post at TR3 Restoration Lessons Learned (TR3B project blog) ↗
How it was done
Timing chain and tensioner
With the front apron already off, the owner checked timing chain slack using a drill bit and found it exceeded the TR4 manual's wear spec, so he replaced it with an IWIS chain from Moss, chosen over cheaper options reported to stretch quickly. He also replaced the worn, grooved tensioner with a Moss-sourced unit rather than a pricier Racetorations upgrade.
Front oil seal and Speedi-Sleeve
Because the hub had a worn groove where the original seal rode, he installed a National Speedi-Sleeve along with a Moss front seal, sealed with Permatex non-hardening gasket dressing. He compared several seal part numbers and suppliers before settling on the Moss/CHO seal for its double sealing surface.
Timing cover and motor mounts
The timing chain cover was flattened, repainted, and refurbished with bondo replacing the original sound deadening material. He fitted a new gasket and washers, then installed uprated Roadster Factory motor mounts, noting the stock mount bolts were too long and shortening them for easier fitting.
Fan balancing
Unable to find a shop to balance the cooling fan assembly, the owner built his own static balancing jig from plywood and hacksaw blades. He balanced the fan extender hub and fan separately then together, adding washers as counterweights until it held position reliably before refitting it to the car.
Small parts ordering
He notes a minor lesson that Roadster Factory wiring clip sleeves yield three clips each, so he ended up with far more than needed after ordering based on total clip count.
A summary in our own words. The full account, with all its detail, is in the original write-up: read it at TR3 Restoration Lessons Learned (TR3B project blog) ↗
Worth knowing
- Buy a quality timing chain (e.g. IWIS) rather than cheaper ones reported to stretch quickly
- Check motor mount bolt length before fitting; stock-length bolts are longer than needed and hard to install
- Order wiring clip sleeves by sleeve count, not clip count, since each sleeve yields three clips
- Jacking the engine can pull the fuel line off near the shutoff tap, so take care when lifting for motor mount access
- A worn hub groove under the front seal can be fixed with a Speedi-Sleeve instead of replacing the hub