Brian's 1974 Austin Mini ("Lucille") restoration
 My Restoration Project - A Pictorial
Read the full write-up at My Restoration Project - A Pictorial ↗
 Photo: My Restoration Project - A Pictorial
Reviving "Lucille," a 1974 Austin Mini, one weekend at a time
Brian documents the ongoing freshening of his 1974 Austin Mini, nicknamed Lucille, which already carried a 1275cc MG Metro engine and 12-inch brakes when he got it. The thread covers interior, electrical and fuel system fixes rather than a full restoration, with a repaint planned but not yet done. It is a candid, photo-led account including the mistakes along the way.
Specs
As stated in the original write-up.
- Engine
- 1275cc engine, originally from an MG Metro
- Brakes
- 8.4 inch front discs, rear drums
- Wheels
- 12 inch wheels
Parts used
Parts named as used in the original write-up, grouped the way the Parts page groups them. Where one of the shops we index lists the same thing for this car, it is shown underneath with a link to the shop.
Engine 1
- Spark plugs
Switched from platinum plugs to standard plugs to resolve idle problems
In the shops NGK Spark Plugs ↗
 Moss Motors – Triumph TR6/TR250· $7.50 USD
 Spark Plug Cover ↗Moss Motors – Triumph TR6/TR250· $22.99 USD
 NGK Resistor Spark Plug ↗Moss Motors – Triumph TR6/TR250· $8.99 USD
Fuel & Ignition 4
- Gas tankMad House Minis
Rusted leaking tank replaced with a cleaned, painted replacement tank
- Braided fuel hoseHeritage Garage
Fitted along with the new gas tank
In the shops Braided Fuel Hose, 14" ↗Moss Motors – Triumph TR6/TR250· $14.25 USD
 Braided Fuel Hose, 11.75" ↗Moss Motors – Triumph TR6/TR250· $12.25 USD
 Braided Fuel Hose, 10 inch ↗Moss Motors – Triumph TR6/TR250· $9.50 USD
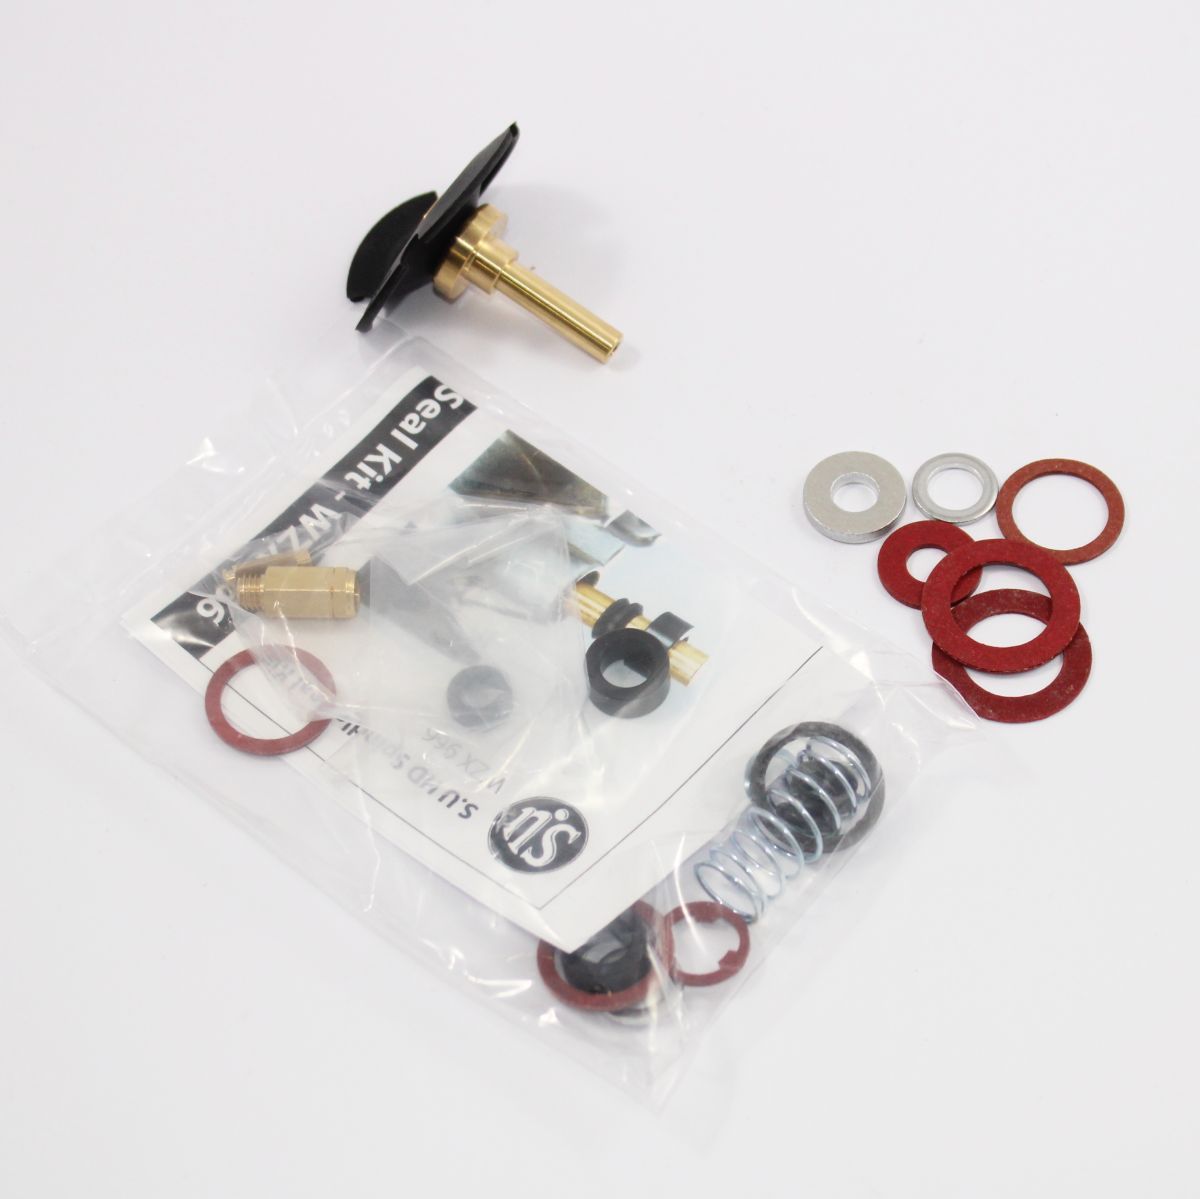
- Carburettor service kitHeritage Garage
Used to rebuild the carb, including a new needle valve and seat and fresh seals and gaskets
In the shops Carburettor Service Kit ↗
James Paddock Ltd· £54.25 GBP
HD8 Carburettor Service Kit (Single) ↗Angloparts· €217.84 EUR
 Carburettor Service Kit (Mini 1991-on) ↗
- Choke spindleJoe Curto
Replacement spindle sourced after the original stripped during reassembly
Body & Trim 3
- Tail light assemblies
Complete new housings, lenses and seals fitted after old ones cracked and rusted
In the shops Tail Lamp Assemblies (LH/RH Pair) - 1968 Dart ↗
 Auto Metal Direct - 1967-69 Camaro· $659.99 USD
 1988–1996 Dodge Dakota Tail Lamp Assemblies (Left & Right Pair) ↗
 Customville American· £60.00 GBP
- 1275GT badge
New badge fitted to correct the car's identity, replacing an inaccurate Cooper S badge
In the shops Boot Badge - 1275GT ↗Moss Motors – Triumph TR6/TR250· $33.99 USD
- Floor paint and primer
Floor pans wire-wheeled, treated with Rustoleum metal primer and painted to seal against rust
In the shops Spray Paint, Engine Primer, Grey ↗Moss Motors – Triumph TR6/TR250· $17.99 USD
 Primer Aerosol Paint ↗
MGbits4U· £28.80 GBP
 Gas Cap - Primer (Paint to Match) ↗Auto Metal Direct - 1967-69 Camaro· $24.99 USD
Interior 4
- Carpet setGBCarparts.com
New unmolded carpet kit fitted to replace cheap household-grade carpet and pad
- Door cardsAurora Upholstery (Luis)
Front cards sourced from a fellow club member and reupholstered along with rear cards
In the shops AW11 MR2 Door Cards ↗
 Techno Toy Tuning· $275.00 USD
 Rear Door Cards, 4 DR ↗Techno Toy Tuning· $140.00 USD
 Door Cards (FC3S RX-7) ↗Techno Toy Tuning· $275.00 USD
- Shifter and handbrake bootsAurora Upholstery (Luis)
Custom boots made by the same upholsterer who redid the door cards
In the shops Datsun Z OEM Shifter Boot ↗
 Zedd Findings (Datsun Parts & Restoration)· 120.00
 Large Shifter Boot (NA/NB) ↗
 Flyin' Miata· $24.99 USD
 Small Shifter Boot (1990-93) ↗Flyin' Miata· $58.99 USD
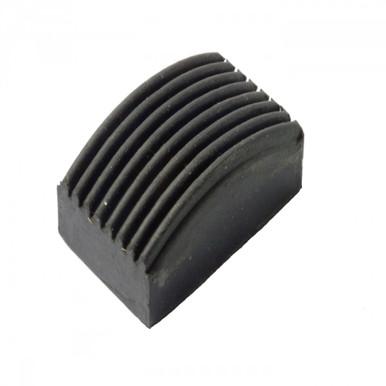
- Pedal pads
New red and blue pads for brake/clutch and a black pad for the gas pedal, replacing hot-glued originals
In the shops Accelerator Pedal Pad (Austin Mini) ↗
 bpnorthwest.com· $1.35 USD
 Pedal Pad ↗Moss Motors – Triumph TR6/TR250· $6.35 USD
 Accelerator Pedal Pad ↗bpnorthwest.com· $1.35 USD
Electrical 2
- Front turn signal sockets, seals and bulbs
Replaced corroded sockets and degraded rubber seals on the front turn signals
In the shops Turn Signal Flasher Unit ↗Moss Motors – Triumph TR6/TR250· $10.50 USD
 2-Wire Wedge Base Bulb Socket ↗Moss Motors – Triumph TR6/TR250· $8.99 USD
 Turn Signal Switch Stalk - Austin Mini ↗
Betaset (France)· €44.54 EUR
- Air hornsMini Mania / Fiamm
New Fiamm air horns wired in with a relay for a loud warning note
Photos
24 pictures collected from the write-up, in the order they were posted, shown from My Restoration Project - A Pictorial. A picture opens larger here, with the way through to the page it is on.
qskapunk · Jun 5, 2007 | 09:57 PM 10this post at My Restoration Project - A Pictorial ↗
qskapunk · Jun 7, 2007 | 01:22 PM 1this post at My Restoration Project - A Pictorial ↗
qskapunk · Jun 7, 2007 | 08:30 PM 7this post at My Restoration Project - A Pictorial ↗
qskapunk · Jul 25, 2007 | 09:09 AM 6this post at My Restoration Project - A Pictorial ↗
How it was done
Starting condition
When Brian got the car it already had a 1275cc MG Metro engine, 12 inch wheels and front discs with rear drums. The shell was solid with no major rust, though it had a cheap aftermarket carpet, worn seats possibly from an MG Metro, a leaking gas tank, and tired tail light assemblies.
Interior and electrical fixes
He replaced front turn signal sockets, seals and bulbs, fitted new tail light housings, lenses and seals, added a third tail light, and installed new Fiamm air horns from Mini Mania. He sanded and painted the floor pans, fitted new carpet, replaced door cards (with help from a club member and upholsterer Luis at Aurora Upholstery), and added custom shift and handbrake boots.
Fuel system and running gear
A rusted-through gas tank that had been leaking into the boot was replaced with a tank from Mad House Minis, fitted with new braided fuel hose from Heritage Garage. He serviced the carburettor with a kit from Heritage Garage, replaced a stripped choke spindle via Joe Curto, swapped platinum plugs for standard ones, and readjusted the carb mixture to fix a lean, sputtering idle.
Planned but not yet done
Brian lists further intended work including 12 inch Minilite wheels with Yokohama tyres, a new grille, steering wheel, centre speedo pod dash, reupholstered low-back seats in a checkerboard pattern, adjustable shocks, new bumpers and fender flares, and a full repaint, none of which are confirmed completed in the thread.
A summary in our own words. The full account, with all its detail, is in the original write-up: read it at My Restoration Project - A Pictorial ↗
Worth knowing
- Always put the bulb in before fitting a new turn signal chrome ring and glass
- Test twin-filament bulb wiring before applying heat shrink to confirm correct filament connections
- Platinum spark plugs can cause more problems than they solve compared with standard plugs