1972 Ford Capri Mk1 GTXLR Body Restoration
 Capri GTXLR Body Restoration (completed)
Read the full write-up at Capri GTXLR Body Restoration (completed) ↗
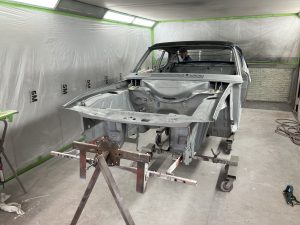 Photo: Capri GTXLR Body Restoration (completed)
Body restoration of a 1972 Ford Capri Mk1 GTXLR
A media-blasted Mk1 Capri GTXLR shell was brought to Andys Auto Body already stripped by its owner. The shop repaired corrosion in the usual trouble spots, fabricated missing inner wing sections, fitted new crossmember and valance panels, then prepped and repainted the shell in its original electric blue before returning it for the owner to complete the refit.
Specs
As stated in the original write-up.
- Paint
- Original electric blue
- Body
- Mk1 Capri pre-facelift shell with new front valance, headlight rings, crossmember sections, inner wings and A-post/sill repairs
Parts used
Parts named as used in the original write-up, grouped the way the Parts page groups them. Where one of the shops we index lists the same thing for this car, it is shown underneath with a link to the shop.
Suspension & Steering 1
- Suspension
Supplied and fitted so the car could be safely transported and secured
Body & Trim 5
- Front valance
New valance fitted and welded into place
- Headlight rings
New rings fitted and welded alongside the valance
In the shops Chrome Headlight Trim Ring - Triumph ↗
Betaset (France)· €22.00 EUR
- Crossmember sections
New sections lined up and welded in place
- Ex-pressed steel front wings and front panel
Trial fitted and fettled to achieve consistent panel gaps
In the shops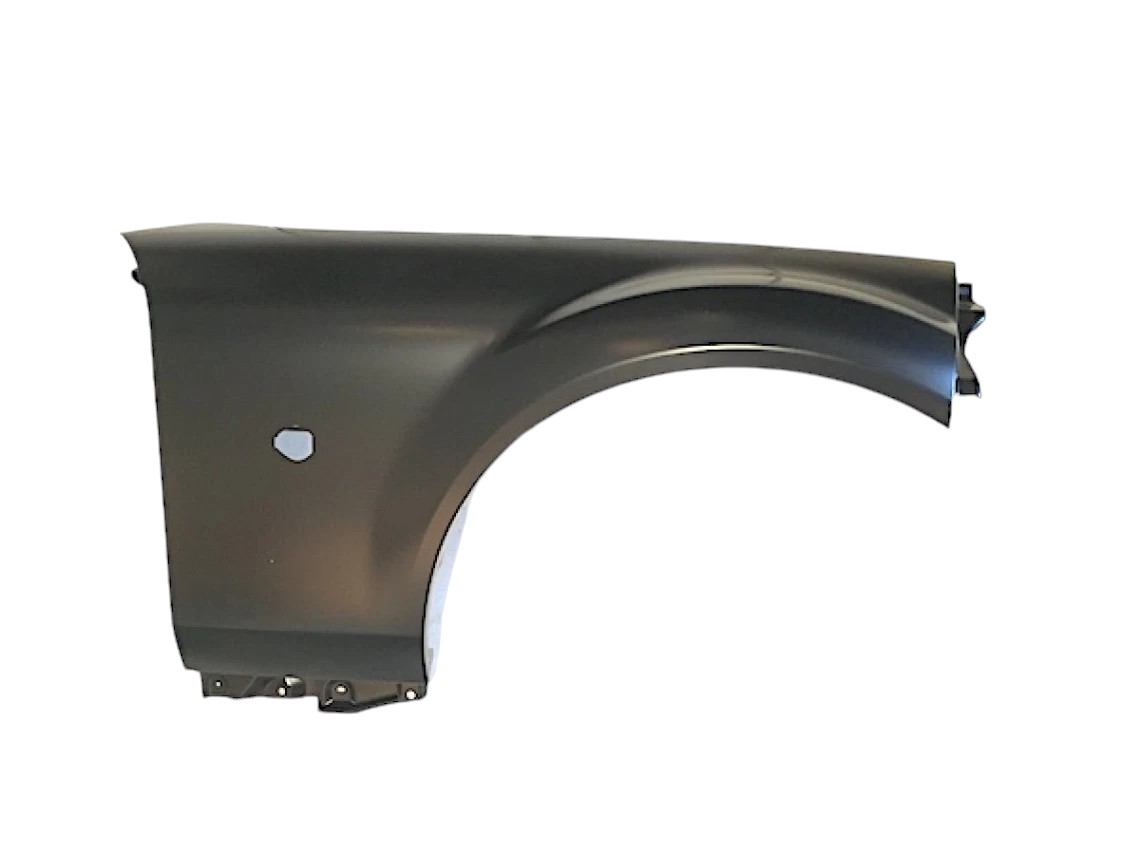 Front Wing Panel ↗
 MX5 City· $191.63 USD
 Front Floor Panel RH (Pressed) ↗
James Paddock Ltd· £66.50 GBP
 Front Floor Panel, Left Hand Pressed (Stag) ↗
- Headlining and vinyl roof
Fitted new at owner's request for transport
Photos
40 pictures collected from the write-up, in the order they were posted, shown from Capri GTXLR Body Restoration (completed). A picture opens larger here, with the way through to the page it is on.
How it was done
Starting condition
The Capri arrived already stripped and media blasted by the owner. It was in relatively good shape for a 1972 pre-facelift car but had corrosion in the usual areas including inner wings, A-posts, sills, arch lips and spring mounts, plus some dents and distortion in the panels.
Shell protection and fabrication
The bare shell was cleaned and zinc coated for protection. Inner wing sections behind the reinforcer plates were fabricated from scratch since no repair panel exists, then welded in and the reinforcers refitted on both sides. New crossmember sections were lined up and welded in, followed by a new front valance and headlight rings.
Panel fitting and corrosion repair
Minor A-post corrosion was repaired without replacing whole panels. A selection of panels including a pair of ex-pressed steel wings and a front panel were trial fitted to achieve consistent gaps. Sill ends, arch lips and the offside spring mount needed partial replacement; doors, bonnet, boot lid, trim and lights were all trial fitted before welding.
Preparation and paint
Once fabrication was complete the shell and panels were prepped, with filler work addressing dents and distortions. Holes for the wing and GTXLR badges were drilled using a template from original factory wings before final paint. Two rounds of 2K primer and hand blocking preceded the respray in the car's original electric blue.
Final assembly for transport
At the owner's request, before shipping back the car, the shop fitted a new headlining and vinyl roof, plus doors, bonnet, boot, catches and seals to stop panels rattling and damaging the paint. Suspension was also supplied and fitted so the car could be transported safely, ready for the owner to complete the refit himself.
A summary in our own words. The full account, with all its detail, is in the original write-up: read it at Capri GTXLR Body Restoration (completed) ↗