My Mini Project: Fitting a Stage 1 kit (RC40 exhaust)
My Mini Project
Fitting an RC40 Stage 1 exhaust kit to a 998cc Mini City E
The owner fits a Stage 1 performance kit built around an RC40 exhaust, working out the mounting kit from forum advice since no instructions came with it. Along the way he finds and fixes a split fuel tank hose and a worn breather pipe, swaps in a performance inlet manifold and carb needle, and fits a K&N filter before road testing the result.
Specs
As stated in the original write-up.
- Engine
- 998cc A-series (Mini City E)
- Exhaust
- RC40-based Stage 1 system with Maniflow exhaust manifold
- Inlet manifold
- Performance inlet manifold stamped Mini Sport
- Carburettor
- SU carb, cleaned and fitted with new needle
- Air filter
- K&N replacing the stock paper filter
Parts used
Parts named as used in the original write-up, grouped the way the Parts page groups them. Where one of the shops we index lists the same thing for this car, it is shown underneath with a link to the shop.
Engine 2
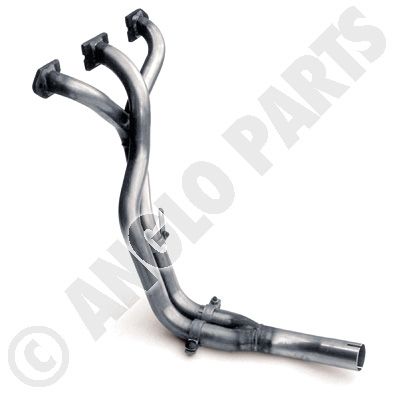
- RC40 exhaust system and Stage 1 mounting kitMini Spares
Complete performance exhaust fitted in place of the stock system, mounted using rear subframe hangers and cotton reels
In the shops Mini RC40 Twin Box Exhaust ↗
Angloparts· €143.30 EUR
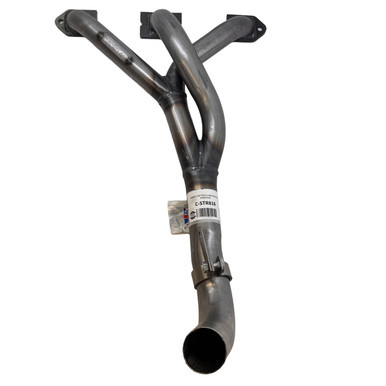
Mini RC40 Rear Box (Single) ↗Mini RC40 Pipe to Single Box ↗ - Maniflow exhaust manifoldManiflow
Performance manifold sourced from a friend, fitted to the back of the engine over four bolts, required reshaping the old downpipe bracket as it came without one
In the shopsManiflow LCB Exhaust Manifold ↗Motaclan Limited· £88.19 GBP
 Maniflow Freeflow Exhaust Manifold ↗
 bpnorthwest.com· $276.94 USDManiflow Cooper Freeflow Exhaust Manifold ↗
Fuel & Ignition 4
- Performance inlet manifoldMini Sport
Fitted in place of the stock inlet manifold after cleaning old gasket material and transferring bolts from a spare manifold
In the shopsManiflow Exhaust Manifold - Mini 1275/1380cc ↗ Inlet & Exhaust Manifold Stud ↗
 Moss Motors – Triumph TR6/TR250· $5.40 USD
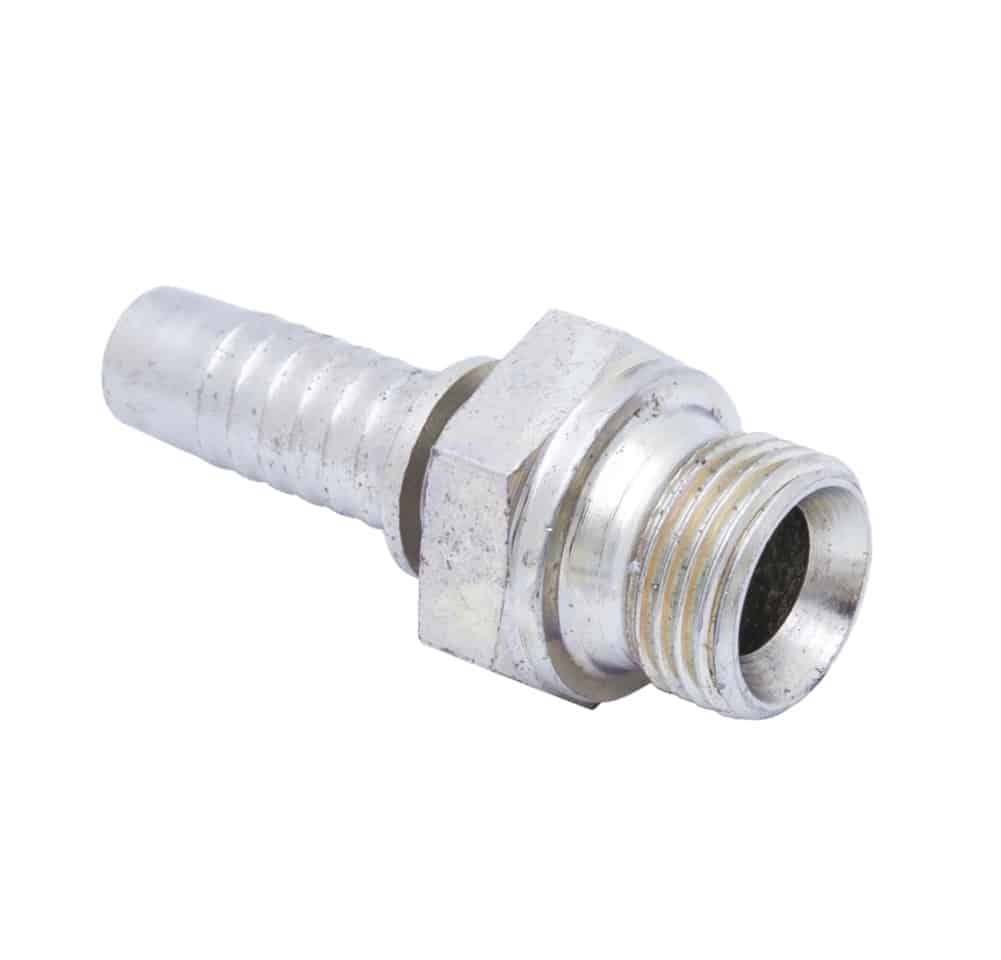 Adaptor Hose to Inlet Manifold ↗
 Racetorations· £6.00 GBP
 - SU carburettor needle
Original needle removed during a carb clean and replaced before reassembly
In the shops H6 Carburettor Needle Jet RH (Rich) ↗
 TRGB· £19.75 GBP
 - K&N air filterK&N
Fitted in place of the stock paper air filter after the exhaust and inlet work
- Fuel tank flexible hose and breather pipe
Replaced after a split was found in the old hose and nicks in the breather pipe, secured with new jubilee clips
In the shops Flexible Breather Pipe ↗Moss Motors – Triumph TR6/TR250· $49.95 USDFuel Pump Outlet Pipe to Flexible Hose ↗
 Flexible Fuel Pipe ↗Moss Motors – Triumph TR6/TR250· $79.94 USD
Photos
17 pictures collected from the write-up, in the order they were posted, shown from My Mini Project. A picture opens larger here, with the way through to the page it is on.
How it was done
Starting condition
With the old exhaust off, the owner checked underneath and found oil soaking the back of the engine and the car's underside, suspecting the driveshaft seals were leaking again. He also found a split in the fuel tank's flexible hose and nicks in the breather pipe.
Fuel tank repairs
Because the hose had split, the tank was drained, disconnected and removed so the damaged flexible hose and breather pipe could be replaced with new pipe and jubilee clips, adding extra time to the main job.
Rear exhaust hangers
With the rear already jacked up, the old rubber exhaust hangers were removed from the rear subframe. New rubber block and cotton-reel hangers were fitted at the rear, reusing the original bolts with copper slip applied for future removal.
Manifold and inlet work
The exhaust manifold was awkward to fit, requiring the steady arm and rocker cover removed so the engine could be rocked forward for clearance. A spare performance inlet manifold needed its old gasket cleaned off and bolts transferred from another manifold before fitting with new gaskets and the spacer block.
Carb and air filter
The SU carb was stripped, cleaned and given a new needle before being reattached to the inlet manifold. The stock paper air filter was swapped for a K&N, and the stock air filter box could still be refitted, though the cowling for the old manifold no longer fits.
Downpipe and final assembly
The old downpipe bracket was reused and reshaped to fit the new pipe diameter. Hammering the downpipe onto the manifold caused it to slide too far and not reach the rear section, needing careful tapping back into place. Hangers were tightened, the steady bar reattached, and the car started and idled well first time.
Road test
On a test drive the exhaust was quieter than expected, with a smooth idle note. The Mini pulled noticeably further and stronger than before in third and fourth gear, without the usual flat spot between 40 and 70mph.
A summary in our own words. The full account, with all its detail, is in the original write-up: read it at My Mini Project ↗
Worth knowing
- Do not hammer the downpipe fully onto the manifold, it can slide too far to reach the back section
- The RC40 downpipe seems to need another inch of length to fit comfortably
- Take photos before removing carb pipework so reconnecting everything correctly is easier
- The Stage 1 mounting kit comes without bolts, so old bolts need reusing (copper slip helps future removal)