Mike Alexander's 1973 MGB with Buick 215 V8
 BritishV8: the site for enthusiasts of modified British sports carsas published in BritishV8 Magazine, Volume XVII Issue 1, July 2009
Read the full write-up at BritishV8: the site for enthusiasts of modified British sports cars ↗
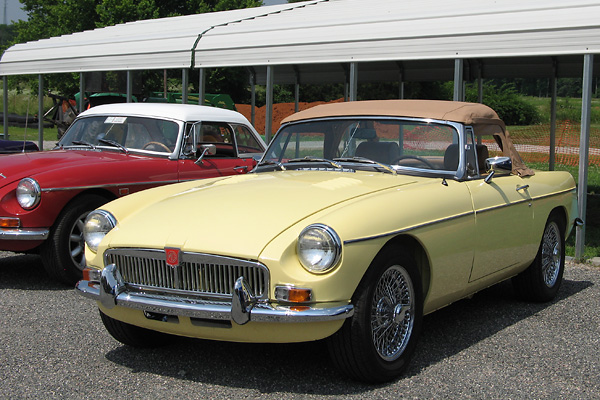 Photo: BritishV8: the site for enthusiasts of modified British sports cars
A 1973 MGB rebuilt on a 1980 shell with a Buick 215 V8
Mike Alexander spent ten months and about $25,000 converting a 1973 MGB, rebuilt on a later rubber-bumper bodyshell, to run an aluminum Buick 215 V8 with a Borg Warner T5 five-speed. The write-up covers the rotisserie body repairs needed to use the 1980 shell, the engine and driveline installation, and the custom wiring, gauges and air conditioning fitted to a car built deliberately "not concours".
Specs
As stated in the original write-up.
- Engine
- 1962 Buick 215cid aluminum V8, bored 0.030 inch over, with Buick four-barrel intake manifold, Edelbrock 1405 500cfm carburetor with electric choke, Delco Remy distributor, Pertronix Ignitor module and Flame Thrower coil, Crower camshaft (part no. 50229), D&D swivel mount oil filter adapter
- Cooling
- D&D Fabrications aluminum radiator
- Exhaust
- RV8-style through-the-fender headers; fuel tank centered to allow dual exhaust
- Transmission
- Borg Warner 'world class' T5 five-speed, lightweight flywheel and driveshaft from D&D Fabrication, McLeod clutch and hydraulic throw-out bearing, Hurst Billet/Plus shifter
- Rear Axle
- Rebuilt stock 1980 MGB (Salisbury) axle
- Front Suspension
- Rebuilt stock MGB front suspension with one inch lowering springs
- Rear Suspension
- Rebuilt MGB rear suspension, lowered one inch, with polyurethane bushes and a late-model anti-sway bar
- Brakes
- Master cylinder updated to later (1975-1980) power brakes; front drilled and slotted rotors; rear stock MGB
- Wheels/Tires
- 15 inch Dayton wire wheels with Dunlop SP Sport 5000 P195/65R15 tires
- Electrical
- Custom wiring using an Advance Auto-Wire kit, 100 amp alternator, gear reduction starter
- Instruments
- Autometer Pro-Comp gauges: speedometer, tachometer, oil pressure, water temperature, voltmeter, programmable fuel gauge
- Interior
- Modified Mark 1 MGB steel dashboard painted body color, custom upholstered center console, Nostalgic Air air conditioning, Tourist Trophy 15 inch wood three-spoke steering wheel
- Body
- 1980 MGB bodyshell used as the basis of a rotisserie restoration; floorboards, trunk floor, rockers, doglegs and lower front fenders replaced; hat-section floor reinforcements added; chrome bumper conversion carried out
- Weight
- 2316 pounds
- Completed
- September 2008, with 4200 miles driven as of June 2009
Parts used
Parts named as used in the original write-up, grouped the way the Parts page groups them. Where one of the shops we index lists the same thing for this car, it is shown underneath with a link to the shop.
Engine 4
- 1962 Buick 215cid aluminum V8 block, bored 0.030 inch overBuick
Base engine for the conversion
- Crower camshaft (part number 50229)Crower
Performance camshaft fitted to the Buick V8
In the shops Brian Crower ProH2K Connecting Rods with ARP2000 Fasteners [17-26 Civic/Accord/CR-V L15B5/B7] ↗
 JDMuscle — Mazda MX-5· $657.30 USD
 - Swivel mount oil filter adapterD&D Fabrications
Allows oil filter clearance in the installation
In the shops Spin-On Oil Filter Adapter ↗
 Moss Motors – Triumph TR6/TR250· $115.75 USD
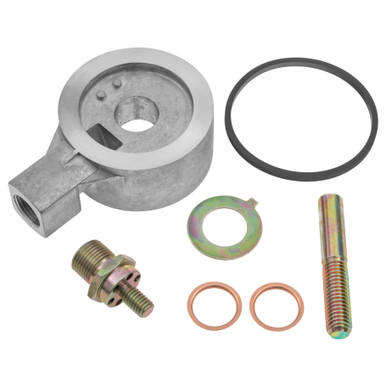 Oil Filter Adapter (MGA/MGB to 1967) ↗
 bpnorthwest.com· $42.25 USD
 - Offenhauser finned aluminum valve coversOffenhauser
Valve covers fitted to the Buick V8
In the shops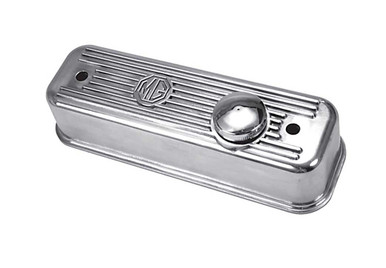 Aluminum Alloy Valve Cover Kit (MGA/MGB) ↗bpnorthwest.com· $134.78 USD
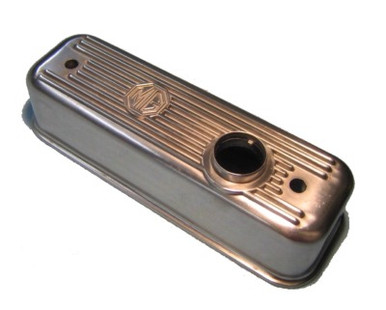 Polished Aluminum Alloy Valve Cover - MGA, MGB ↗bpnorthwest.com· $115.79 USD
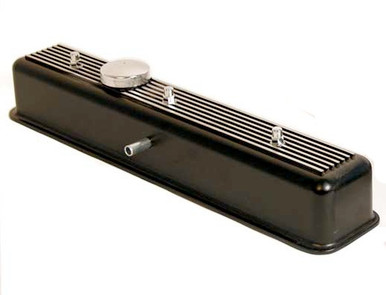 Aluminum Alloy Valve Cover, Black (Triumph 6-Cylinder) ↗bpnorthwest.com· $216.99 USD
Fuel & Ignition 6
- Buick four-barrel intake manifoldBuick
Carries the Edelbrock carburetor
In the shops Intake Manifold ↗Moss Motors – Triumph TR6/TR250· $305.25 USD
 Intake Manifold Adaptor ↗Moss Motors – Triumph TR6/TR250· $0.00 USD
 Intake Manifold to Head Gasket ↗Moss Motors – Triumph TR6/TR250· $6.40 USD
 - Edelbrock 1405 500cfm carburetorEdelbrock
Fitted with electric choke for fueling the V8
- Delco Remy distributorDelco Remy
Ignition distributor used on the engine
In the shops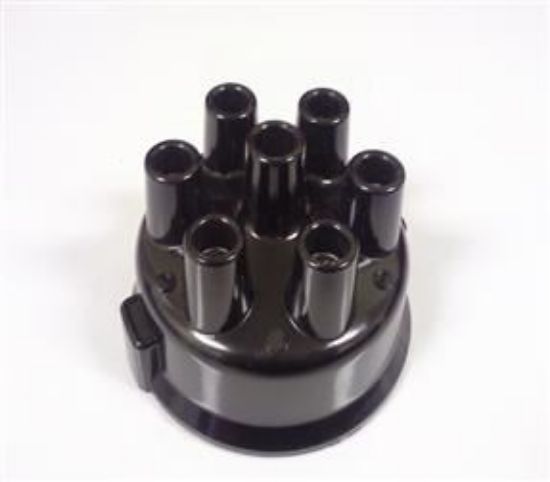 Distributor Cap - Delco ↗
James Paddock Ltd· £14.95 GBP
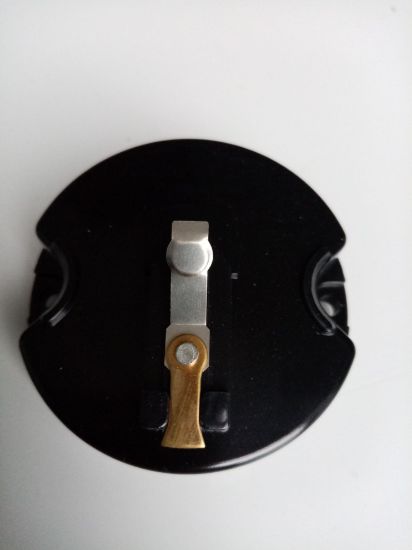 Rotor Arm (Delco Distributor) ↗
 Distributor O-Ring (Delco Type) ↗
 - Pertronix Ignitor ignition modulePertronix
Replaced the original breaker points
In the shops Pertronix Ignitor Electronic Ignition System ↗Moss Motors – Triumph TR6/TR250· $165.25 USD
 Pertronix Ignitor Electronic Ignition System ↗Moss Motors – Triumph TR6/TR250· $168.50 USD
 Pertronix Ignitor Electronic Ignition System ↗Moss Motors – Triumph TR6/TR250· $168.50 USD
 - Pertronix Flame Thrower coilPertronix
Ignition coil paired with the Ignitor module
In the shops Pertronix Flame Thrower Electronic Distributor ↗Moss Motors – Triumph TR6/TR250· $356.50 USD
 Pertronix Ignition Coil ↗Moss Motors – Triumph TR6/TR250· $68.50 USD
 Pertronix Ignition Coil, ballasted ↗Moss Europe (UK)· £112.50 GBP
 - Accel Hi-Temp Spiral Core 8mm spark plug wiresAccel
Ignition wires fitted to the V8
In the shops Magnecor 8.5mm Spark Plug Wires ↗Moss Motors – Triumph TR6/TR250· $135.25 USD
 NGK Spark Plug ↗Moss Motors – Triumph TR6/TR250· $3.89 USD
 NGK Spark Plug ↗
Betaset (France)· €5.52 EUR
Cooling 1
- Aluminum radiatorD&D Fabrications
Custom radiator for V8 cooling, paired with dual fans and the AC condenser
In the shops Aluminum Radiator ↗Moss Motors – Triumph TR6/TR250· $355.00 USD
 Aluminum Radiator ↗Moss Motors – Triumph TR6/TR250· $358.50 USD
 Aluminum Radiator ↗Moss Motors – Triumph TR6/TR250· $364.00 USD
Gearbox & Drivetrain 9
- Borg Warner T5 'world class' five-speed gearboxBorg Warner
Manual transmission installed behind the V8
In the shopsGearbox Rear Oil Seal (Borg Warner, Auto) ↗ANG Classic Car Parts· £6.77 GBP
 5-Speed Gearbox Conversion Kit by Vitesse ↗Moss Motors – Triumph TR6/TR250· $6,622.25 USD
 Sump Gasket (Borg Warner 35 Auto Gearbox) ↗
 Robsport International· £ 8.70
 - Lightweight flywheelD&D Fabrication
Reduces rotating mass for the V8/T5 combination
In the shopsLightweight Steel Flywheel ↗Moss Europe (UK)· £569.26 GBP Flywheel, lightweight steel ↗Moss Europe (UK)· £569.26 GBP
 Flywheel, lightweight, Fidanza ↗Moss Europe (UK)· £604.25 GBP
 - DriveshaftD&D Fabrication
Custom driveshaft built for the conversion
- ClutchMcLeod
Clutch used with the hydraulic throw-out bearing
In the shops McLeod Racing 500 Series Performance Clutch Disc (67-81 Camaro, 67-70 Firebird) - Bronze Button Facing ↗JDMuscle — Mazda MX-5· $265.00 USD
 - Hydraulic throw-out bearingMcLeod
Operates the clutch hydraulically
In the shops McLeod Racing 1400 Series Hydraulic Throwout Bearing ↗JDMuscle — Mazda MX-5· $295.00 USD
 Clutch Masters Replacement Throw-Out Bearing (94-01 Integra / 99-01 Civic Si) ↗JDMuscle — Mazda MX-5· $127.50 USD
 Clutch Masters Hydraulic Release Bearing ↗JDMuscle — Mazda MX-5· $292.27 USD
 - Billet/Plus shifterHurst
Shift lever fitted to the T5 gearbox
- Camaro-spec diaphragm pressure plate and clutch discChevrolet
Clutch components matched to the bellhousing setup
In the shops AP Clutch Pressure Plate ↗Moss Motors – Triumph TR6/TR250· $143.50 USD
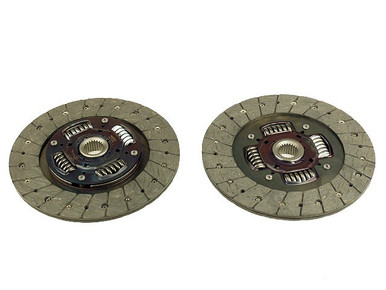 Heavy Duty Clutch Disc (MGB) ↗bpnorthwest.com· $105.39 USD
 Clutch Disc by AP Clutch (23 Spline) ↗Moss Motors – Triumph TR6/TR250· $109.75 USD
 - Aftermarket transmission bellhousing
Mates the T5 gearbox to the Buick V8
- Rebuilt stock 1980 MGB Salisbury rear axle
Rear axle carried over and rebuilt for the car
In the shops MGB Salisbury Axle Rear Wheel Bearing Kit ↗
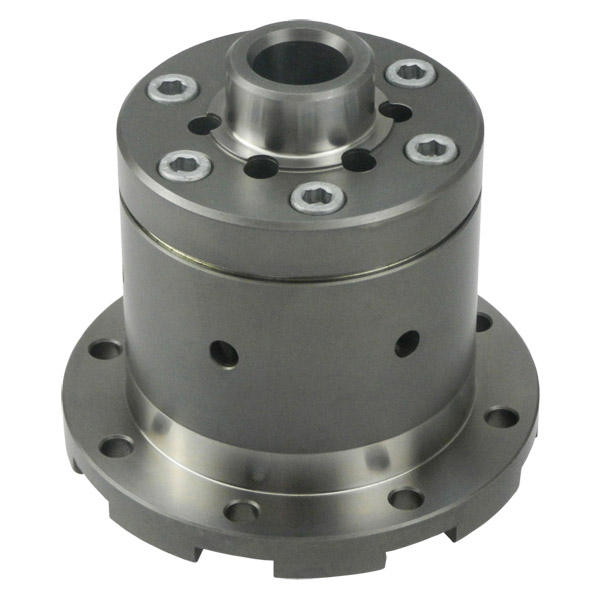 Blackline MGB Salisbury Axle Helical LSD ↗
Rally Design· £499.00 GBP
 MGB Salisbury Axle Differential Cover Gasket ↗
Suspension & Steering 4
- One inch lowering springs
Fitted to the rebuilt front suspension
In the shops Spring Lowering Kit, per car ↗Moss Europe (UK)· £23.50 GBP
 Lowering Wedge, rear leaf spring ↗Moss Europe (UK)· £24.25 GBP
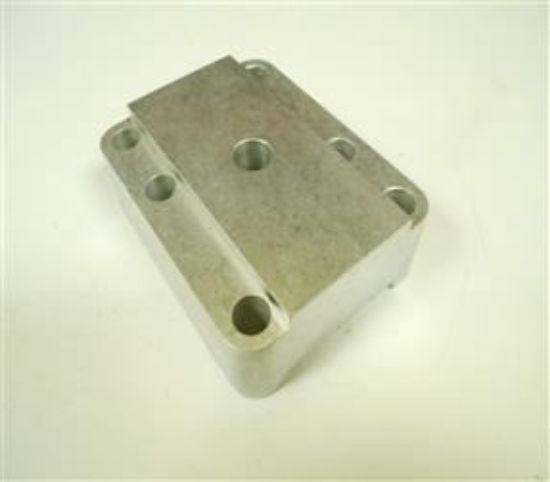 Rear Spring Lowering Block, Alloy 1 Inch ↗
 - Polyurethane bushes
Fitted to the lowered rear suspension
In the shopsParabolic Spring Kit (MGB GT, C/B, with Polyurethane Bushes) ↗ MGOC Spares· £225.00Parabolic Spring Kit (MGB GT, R/B, with Polyurethane Bushes) ↗MGOC Spares· £225.00Parabolic Spring Kit (MGB GT V8 R/B) with Polyurethane Bushes ↗MGOC Spares· £225.00
 - Late-model anti-sway bar
Installed with new brackets on body and axle
In the shops Anti-Tramp Bar Kits ↗Moss Motors – Triumph TR6/TR250· $409.00 USD
 Solid Mounts, Sway Bar ↗Moss Motors – Triumph TR6/TR250· $90.50 USD
 Sway Bar Links Ball Jointed ↗Moss Motors – Triumph TR6/TR250· $119.99 USD
 - Steering universal joint
Used to adapt the steering column to the V8 installation
In the shops Universal Joint, steering column ↗Moss Europe (UK)· £61.20 GBP
 Universal Joint, steering column ↗Moss Europe (UK)· £26.70 GBPJoint ass steering MGB ↗
Motaclan Limited· £14.57 GBP
Brakes 2
- Power brake master cylinder (1975-1980 spec)
Updated master cylinder for power brakes
In the shops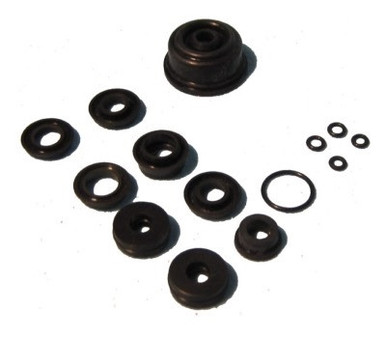 Brake Master Cylinder Kit (MGB 1975-1980, TR7, TR8) ↗bpnorthwest.com· $21.59 USD
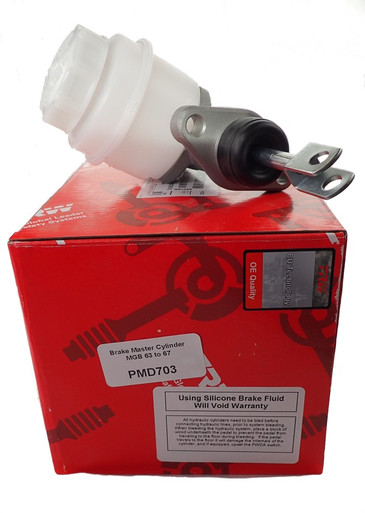 Brake Master Cylinder (MGB 63-67) ↗bpnorthwest.com· $99.95 USD
 Master Cylinder to Hose Brake Pipe ↗Moss Motors – Triumph TR6/TR250· $56.99 USD
 - Drilled and slotted front brake rotors
Upgraded front rotors
In the shops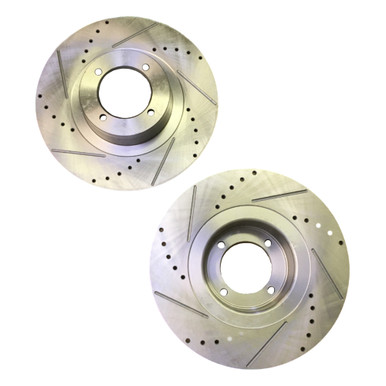 Drilled and Slotted Brake Rotor Set (MGB) ↗bpnorthwest.com· $98.99 USD
 Brake Rotor Pair, Cross-Drilled and Slotted ↗Moss Motors – Triumph TR6/TR250· $131.50 USD
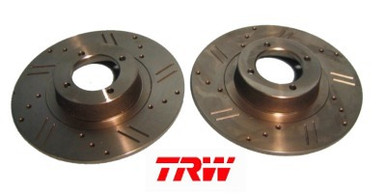 Brake Rotor Set, TRW Drilled and Slotted - MGB ↗bpnorthwest.com· $128.25 USD
Wheels & Tyres 2
- Dayton wire wheels, 15 inchDayton
Wheels fitted to the finished car
In the shops Dayton Wire Wheels ↗Moss Motors – Triumph TR6/TR250· $578.75 USD
 - SP Sport 5000 tyres, P195/65R15Dunlop
Tyres fitted to the Dayton wire wheels
Body & Trim 10
- 1980 MGB bodyshell
Used as the base for the rotisserie restoration
In the shops Console - MGB 1977-1980 ↗
 Console - MGB 1972-1980 ↗
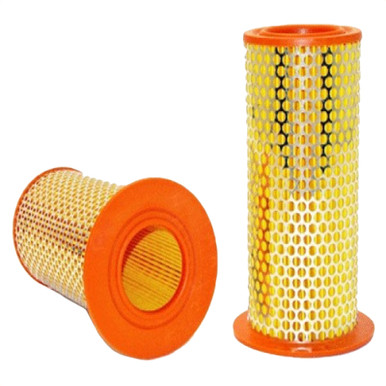 Air Filter (MGB 1975-1980) ↗bpnorthwest.com· $12.99 USD
 - Replacement floorboards, trunk floor, rockers, doglegs and lower front fenders
Rust repair panels fitted during the restoration
In the shops Lower Left Front Fender Repair Panel (Rear Section) ↗Moss Motors – Triumph TR6/TR250· $104.75 USD
 - Hat-section floor reinforcements
Added under the floor to strengthen seat mounting points
In the shops GT Deck Floor Carpet Replacement Section ↗Moss Motors – Triumph TR6/TR250· $63.25 USD
 - Chrome bumper conversion parts
Needed because the later rubber-bumper shell was used as the base
In the shops Chrome Bumper Conversion Kit ↗Moss Motors – Triumph TR6/TR250· $1,418.75 USD
 Chrome Bumper Conversion Kit with Chrome Overrider ↗Moss Motors – Triumph TR6/TR250· $1,418.75 USD
 Chrome Bumper Conversion Kit with Rubber Tip Overrider ↗Moss Motors – Triumph TR6/TR250· $1,787.50 USD
 - 1962-1969 style grille
Fitted with a 1973-1974.5 apron for a mixed-era look
In the shops Front Grille (1962-69) ↗Moss Motors – Triumph TR6/TR250· $0.00 USD
 - 1974-1980 door mirrors
Later-model mirrors fitted to the body
In the shops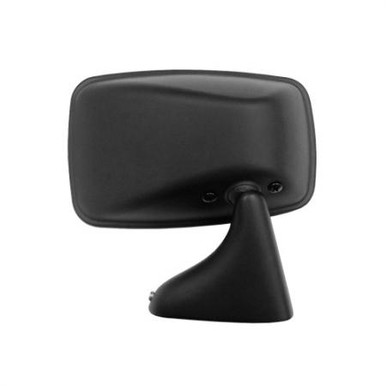 Right Flat Mirror Glass, Black (MGB 1974-1980) ↗bpnorthwest.com· $49.39 USD
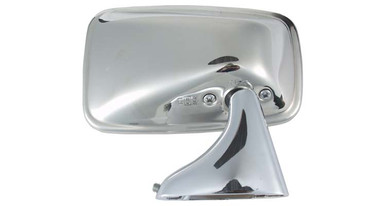 Right Flat Glass Mirror, Polished (MGB 1974-1980) ↗bpnorthwest.com· $49.95 USD
 Bullet Door Mirror, Black ↗Moss Motors – Triumph TR6/TR250· $24.84 USD
 - Later model boot lid badge
Exterior trim detail
In the shops Camshaft Tappet (Later Models) ↗
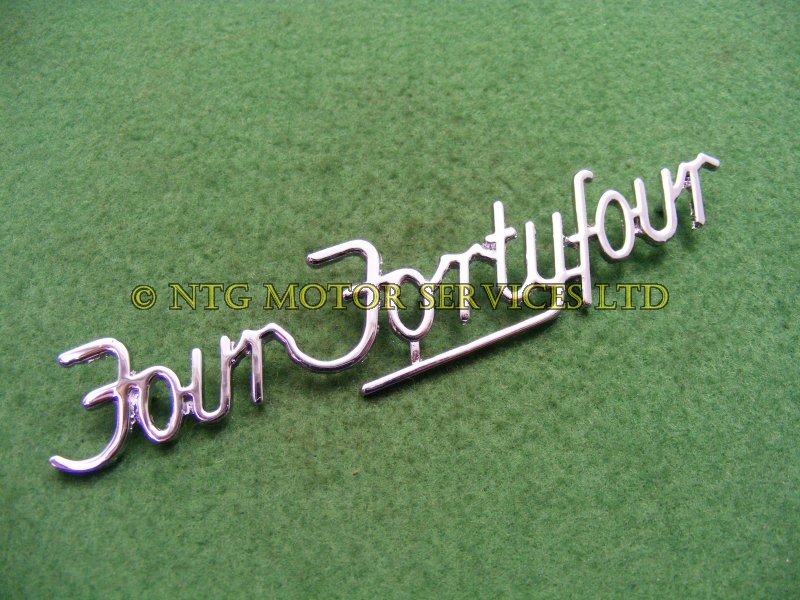 Badge-Four FortyFour Script-Boot ↗
MGbits4U· £0.00 GBP
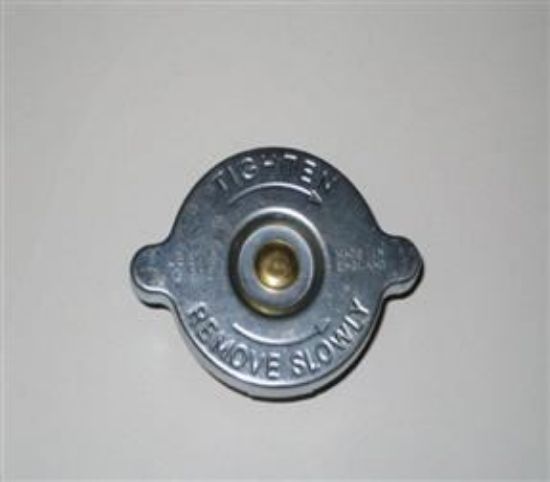 Radiator Cap 13lb (Later Models) ↗
 - Solid red taillamps (circa 1962-1969)
Earlier-style taillamps fitted
In the shops Panel Set, Black Vinyl with Red Piping, 1962-65 ↗Moss Motors – Triumph TR6/TR250· $736.50 USD
 Front Seat Kit, Red Vinyl with Red Piping (1962-68) ↗Moss Motors – Triumph TR6/TR250· $526.00 USD
 Panel Set, Red Vinyl with Black Piping (1962-65 RD) ↗Moss Motors – Triumph TR6/TR250· $736.50 USD
 - MkI bumper overriders on MkIII bumper
Mounted further outboard to make the car look wider
In the shops Overrider to Bumper Bar Bolt ↗Moss Motors – Triumph TR6/TR250· $0.99 USD
 Front Bumper Overrider, Classic Gold ↗Moss Motors – Triumph TR6/TR250· $79.69 USDRear Bumper Kit with Rubber Tip Overriders ↗Moss Motors – Triumph TR6/TR250· $663.25 USD
 - Hood louvers and insulation
Added to the bonnet for heat management
In the shops Under-Hood Sound Insulation Kit - MGB / MGB GT ↗
 Hood Louver Set (NOS) ↗
 JDM Car Parts· $595.00 USD
 280Z Hood Vents (Louvers) ↗
 Silvermine Motors· $220.00 USD
Interior 7
- Pro-Comp gauge setAutometer
Speedometer, tachometer, oil pressure, water temperature, voltmeter and programmable fuel gauges
- Modified Mark 1 MGB steel dashboard
Reworked and painted body color instead of crinkle finish
In the shops Dashboard (1962-67) ↗Moss Motors – Triumph TR6/TR250· $0.00 USD
 Dashboard, MGB 1968-71 ↗Moss Motors – Triumph TR6/TR250· $0.00 USD
 Dashboard, MGB 1977-80 ↗Moss Motors – Triumph TR6/TR250· $0.00 USD
 - Custom upholstered center console
Houses AC controls and louvers, built around the shifter
In the shops Leather Upholstered Center Console ↗Moss Motors – Triumph TR6/TR250· $210.50 USD
 ARE Center Console ↗Moss Motors – Triumph TR6/TR250· $105.25 USD
 Center Console Lid Repair Plate ↗Moss Motors – Triumph TR6/TR250· $9.50 USD
 - Nostalgic Air air conditioning systemNostalgic Air
Climate control system installed in the car
- Tourist Trophy wood three-spoke steering wheel, 15 inchTourist Trophy
Steering wheel fitted to the finished interior
In the shops Steering Wheel, Tourist Trophy, 15" wood rim, matt aluminium/drilled spokes ↗Moss Europe (UK)· £225.00 GBP
 Steering Wheel, Tourist Trophy, 14" wood rim, matt aluminium/drilled spokes ↗Moss Europe (UK)· £219.30 GBP
 Steering Wheel, Tourist Trophy, 15" wood rim, matt aluminium/slotted spokes ↗Moss Europe (UK)· £225.00 GBP
 - 1977-1980 armrest/console (cut down)
Modified to fit the custom shifter boot
In the shopsConsole - MGB 1977-1980 ↗ 1970-1980 MGB Armrest Console Cover Blue ↗
 Sports & Classics· $15.00 USDArmrest console MGB ↗
 - Heater valve
Part of the heating/AC plumbing
Electrical 6
- Sanden air conditioning compressorSanden
Compressor for the installed AC system
In the shops Air Conditioning Compressor Spacer ↗
 British Auto USA· $1.62 USDAir Conditioning Compressor, Denso ↗Moss Europe (UK)· £659.50 GBPAir Conditioning Compressor, Genuine ↗Moss Europe (UK)· £1,460.30 GBP
 - Air conditioning receiver-dryer
Part of the Nostalgic Air AC system
In the shops Air Conditioning Receiver/Drier ↗Moss Motors – Triumph TR6/TR250· $41.99 USD
 Air Conditioning Receiver Drier, Hella ↗Moss Europe (UK)· £32.00 GBP
 - Air conditioning condenser
Mounted in front of the aluminum radiator
- Custom wiring harness kitAdvance Auto-Wire
Used to build the car's custom wiring, relocated out of the engine bay
In the shops Main Wiring Harness (Vinyl) ↗Moss Motors – Triumph TR6/TR250· $663.25 USD
 Main Wiring Harness (Vinyl) ↗Moss Motors – Triumph TR6/TR250· $736.50 USD
 Main Wiring Harness (Vinyl) ↗Moss Motors – Triumph TR6/TR250· $583.75 USD
 - 100 amp alternator with billet pulleysDelco
Charging system upgrade for the V8
In the shops Alternator Pulley ↗Moss Motors – Triumph TR6/TR250· $32.99 USD
 18ACR Alternator, 45 Amp ↗Moss Motors – Triumph TR6/TR250· $150.00 USD
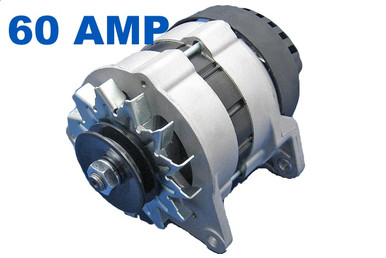 Alternator, MGB (1972-74), 60 Amp ↗bpnorthwest.com· $149.99 USD
 - Gear reduction starter
Starter motor fitted to the Buick V8
In the shops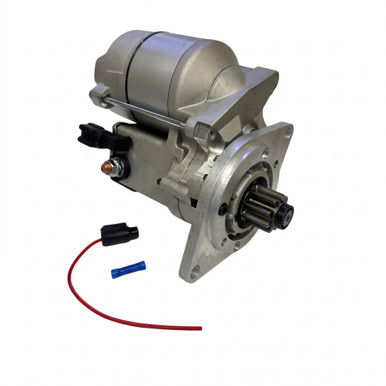 Gear Reduction Starter (MGB 68 to 80) ↗bpnorthwest.com· $249.95 USD
 Gear Reduction Starter Wire Connector Kit with Ballasted Ignition (MGB) ↗bpnorthwest.com· $8.35 USD
 High-Torque Gear Reduction Starter ↗Moss Motors – Triumph TR6/TR250· $213.50 USD
Other 2
- RV8-style through-the-apron exhaust headers
Routed exhaust through the fender aprons, required cutting a hole in the inner wing
- Four-into-one header collector
Combines header pipes into single exhaust
Photos
40 pictures collected from the write-up, in the order they were posted, shown from BritishV8: the site for enthusiasts of modified British sports cars. A picture opens larger here, with the way through to the page it is on.
How it was done
Starting with a later bodyshell
After thirty years restoring British cars, mostly Jaguar XKEs, the owner decided to finally build a V8-powered MGB. He began a rotisserie restoration based on a 1980 bodyshell rather than the original 1973 shell, which meant adapting the car to the later chassis features and later converting it to a chrome bumper look.
Structural repairs
The rotisserie work involved replacing the floorboards, trunk floor, rockers, doglegs and lower front fenders, with the driver side fender needing extra rust repair to its lower section. Hat-section reinforcements were welded under the floor to strengthen the seat mounting points before the shell was painted.
Fitting the Buick V8 and gearbox
A 1962 Buick 215 aluminum V8, bored 0.030 inch over, was built up with a Buick four-barrel intake, Edelbrock carburetor, Pertronix ignition and a Crower camshaft, then mated to a Borg Warner T5 five-speed through a Chevy Camaro-spec clutch and a modern aftermarket bellhousing. A D&D lightweight flywheel and driveshaft completed the driveline.
Cooling, exhaust and underside work
A D&D aluminum radiator with dual electric fans handles cooling, aided by careful pulley clearance checks during installation. RV8-style headers run through the fender aprons, and the fuel tank was centered to allow for dual exhaust. The rear axle is a rebuilt stock 1980 Salisbury unit with a late-model anti-sway bar fitted using new brackets.
Wiring, gauges and climate control
The owner built a custom wiring loom from an Advance Auto-Wire kit, relocating wiring out of the engine bay and adding a 100 amp alternator and gear reduction starter. Autometer Pro-Comp gauges were installed along with a Nostalgic Air air conditioning system, including a Sanden compressor, receiver-dryer and condenser mounted ahead of the radiator.
Interior and finishing details
A Mark 1 steel dashboard was modified and painted body color instead of its original crinkle finish, paired with a custom upholstered center console built around the Hurst shifter and a cut-down 1977-1980 armrest/console. A Tourist Trophy wood steering wheel and mixed-year exterior trim, including an early grille, later mirrors and relocated bumper overriders, finished the look.
On the road
The car was completed in September 2008 after about ten months of work and roughly $25,000 spent, all done by the owner himself. A rocker arm failure at 105 miles was the only mechanical problem encountered in the first 4200 miles of driving.
A summary in our own words. The full account, with all its detail, is in the original write-up: read it at BritishV8: the site for enthusiasts of modified British sports cars ↗
Worth knowing
- Using a later rubber-bumper bodyshell as the restoration base brings extra differences to work around, like a deeper heelboard and relocated radiator mounts.
- Rust repair on fenders is best finished with the panel fitted to the car so alignment comes out right.
- A single defective rocker arm can appear even after careful, thorough engine building, so it is worth being prepared for early teething problems.
- Centering the fuel tank was necessary to make room for a dual exhaust system.
- Relocating wiring out of the engine bay helps keep the installation tidy and serviceable.